Advanced floorplan editing
Five techniques for refining a plan after the basics — angles, adding walls, quick alcoves, merging corners, and tracing an architect drawing. Use them in any order; each section stands alone.
10 min read · 5 techniques
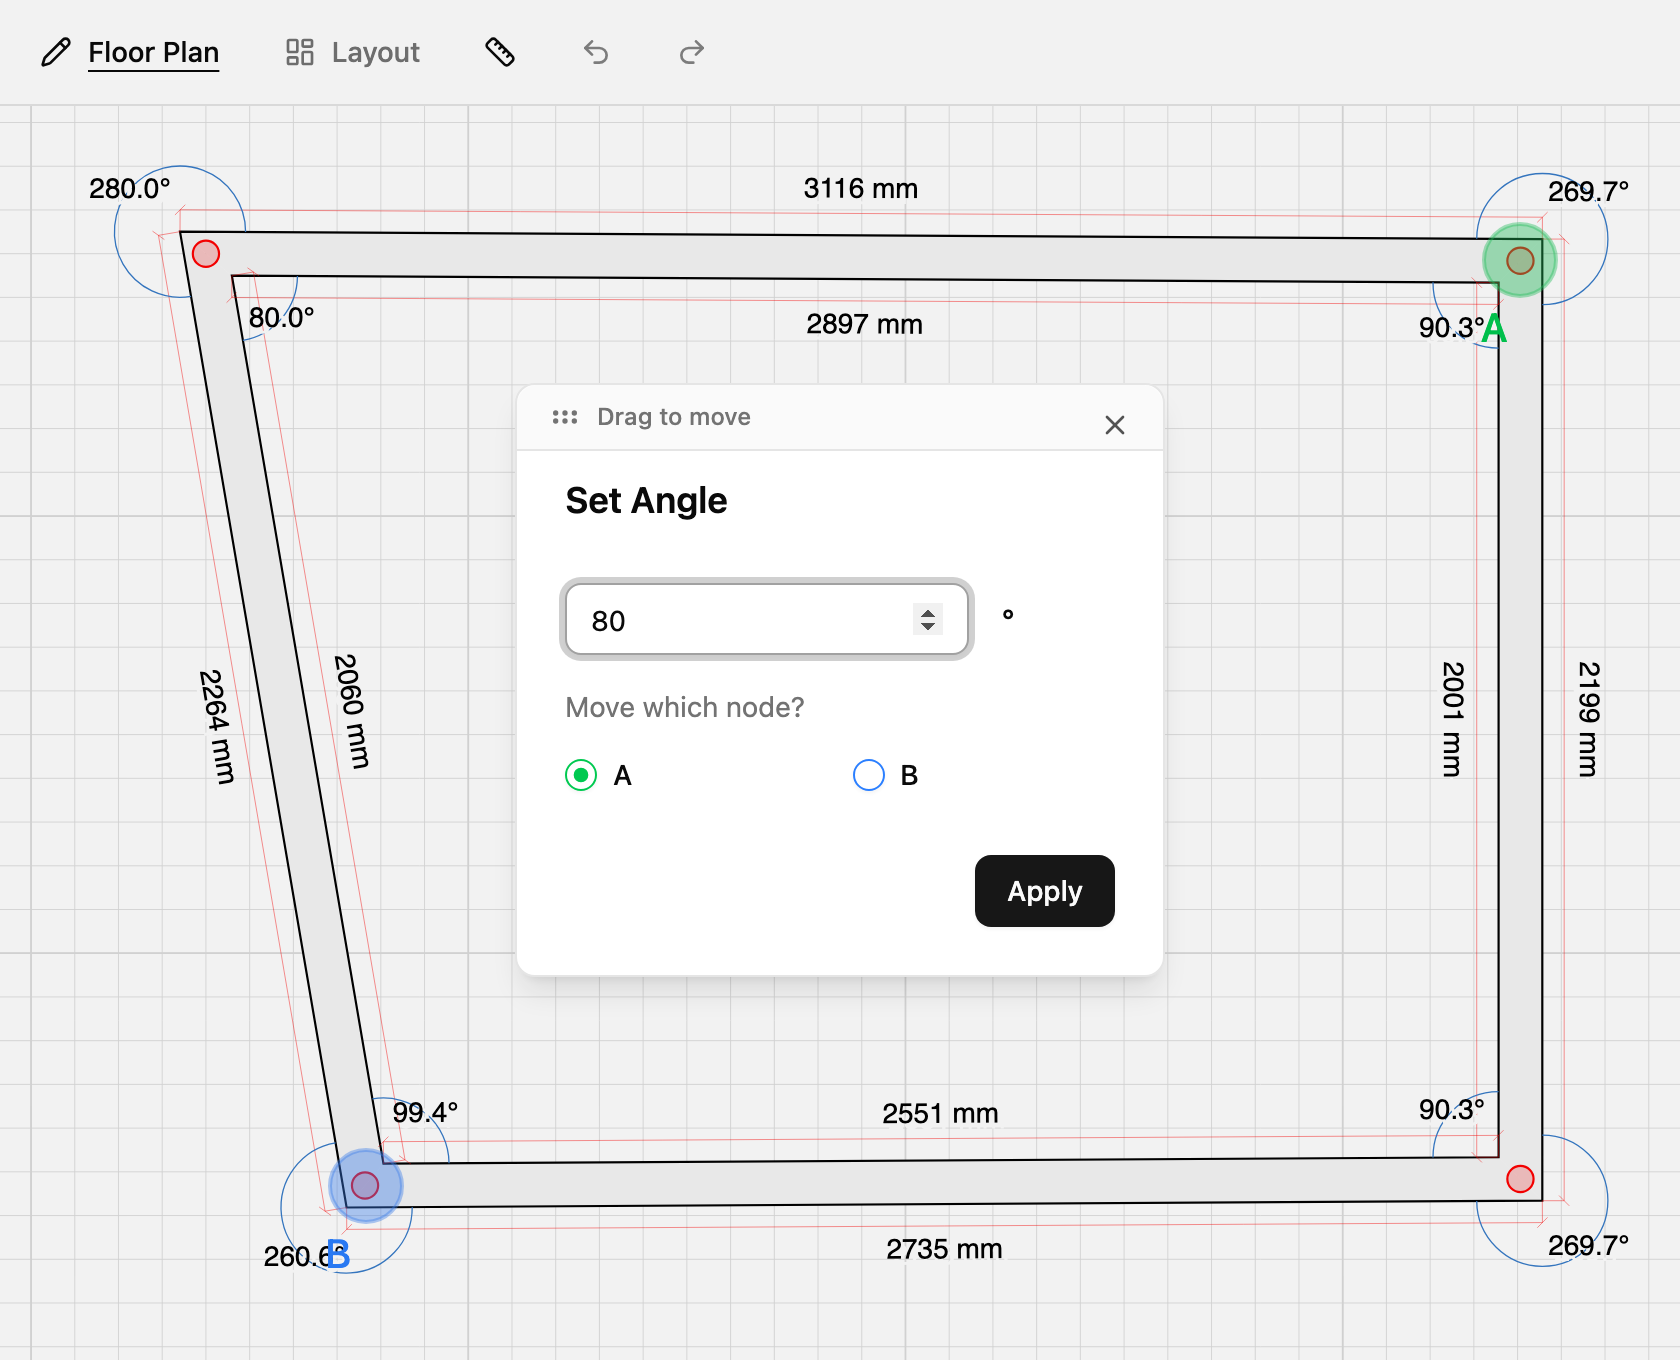
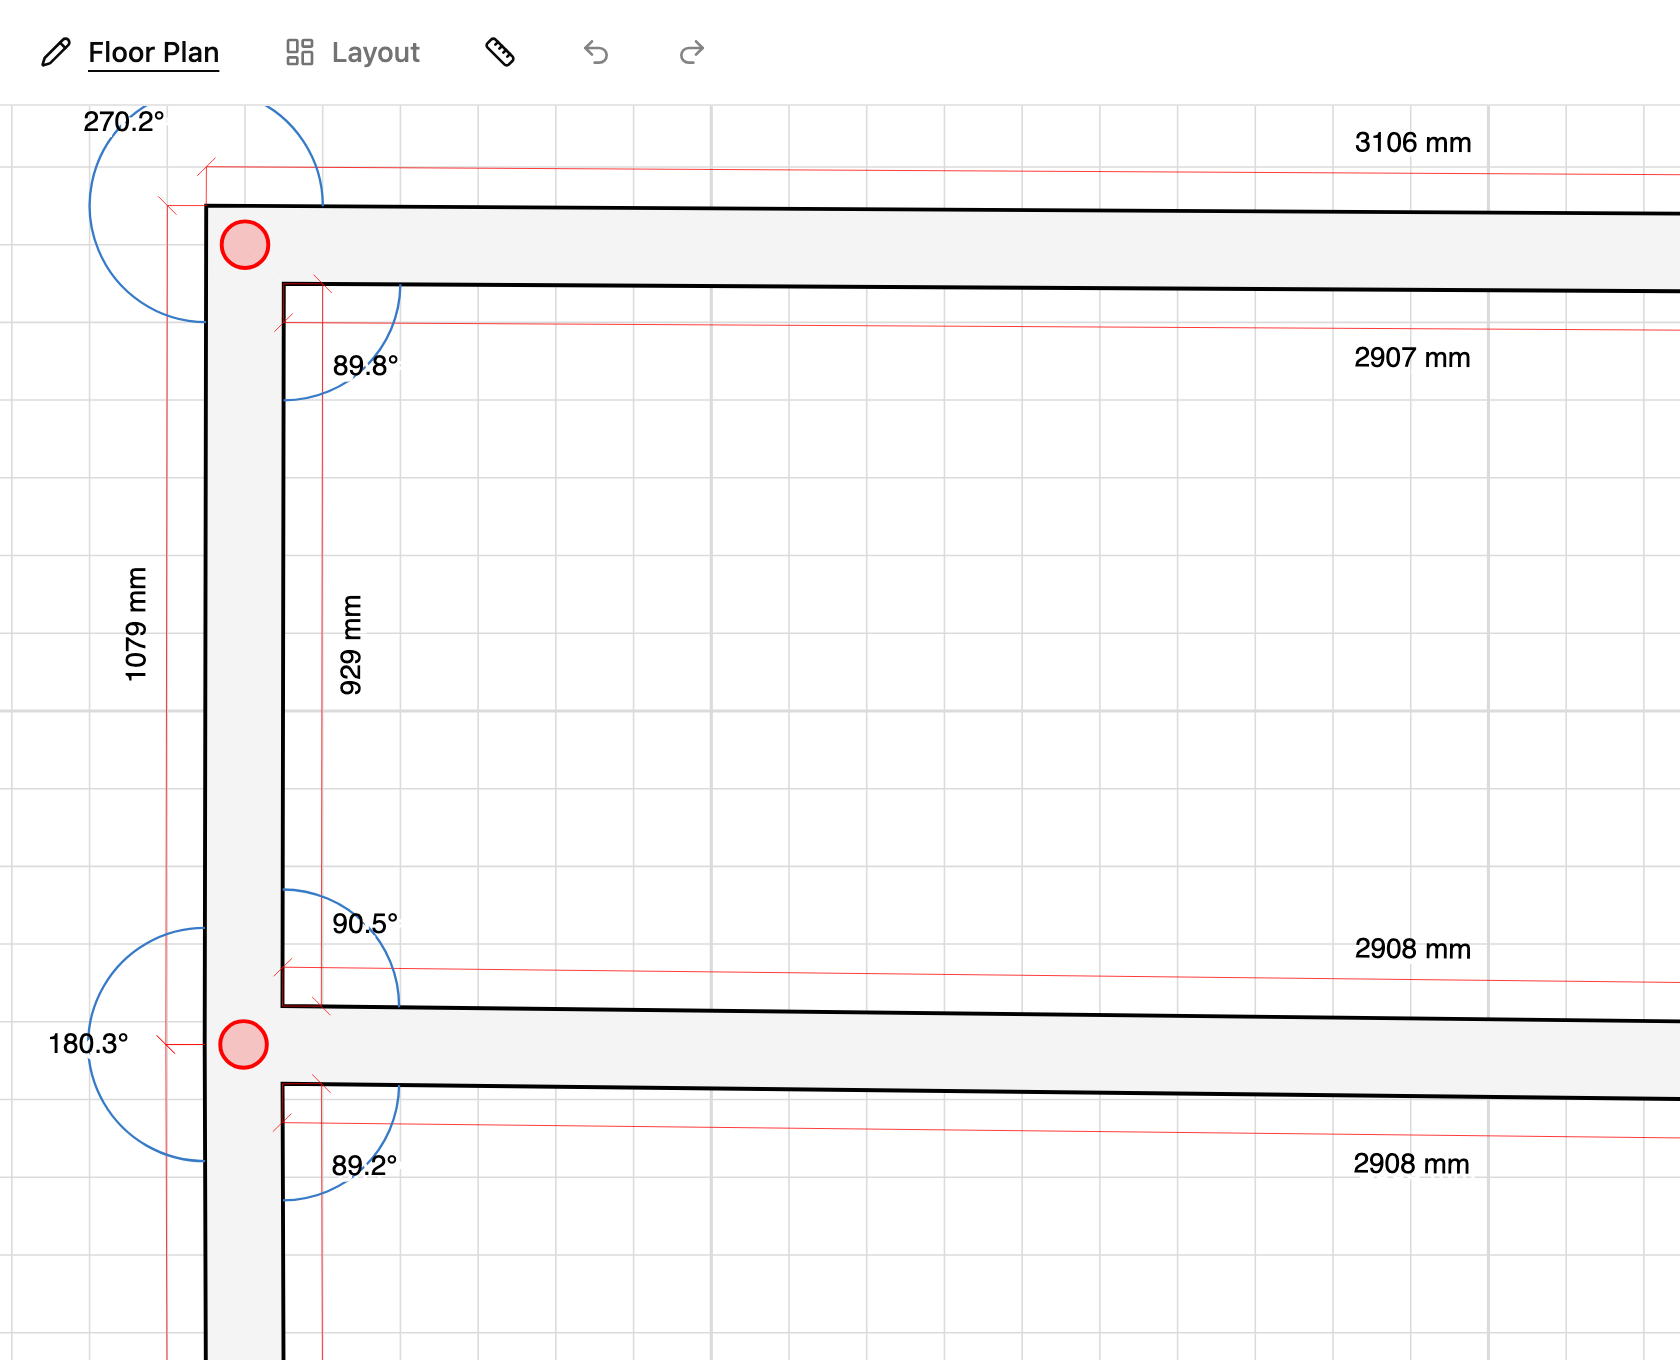
Set a corner angle
Click the angle label where two walls meet. Choose which wall moves (A or B), type the degrees, and confirm. Use this when a room is not a simple rectangle.
Add a wall offshoot
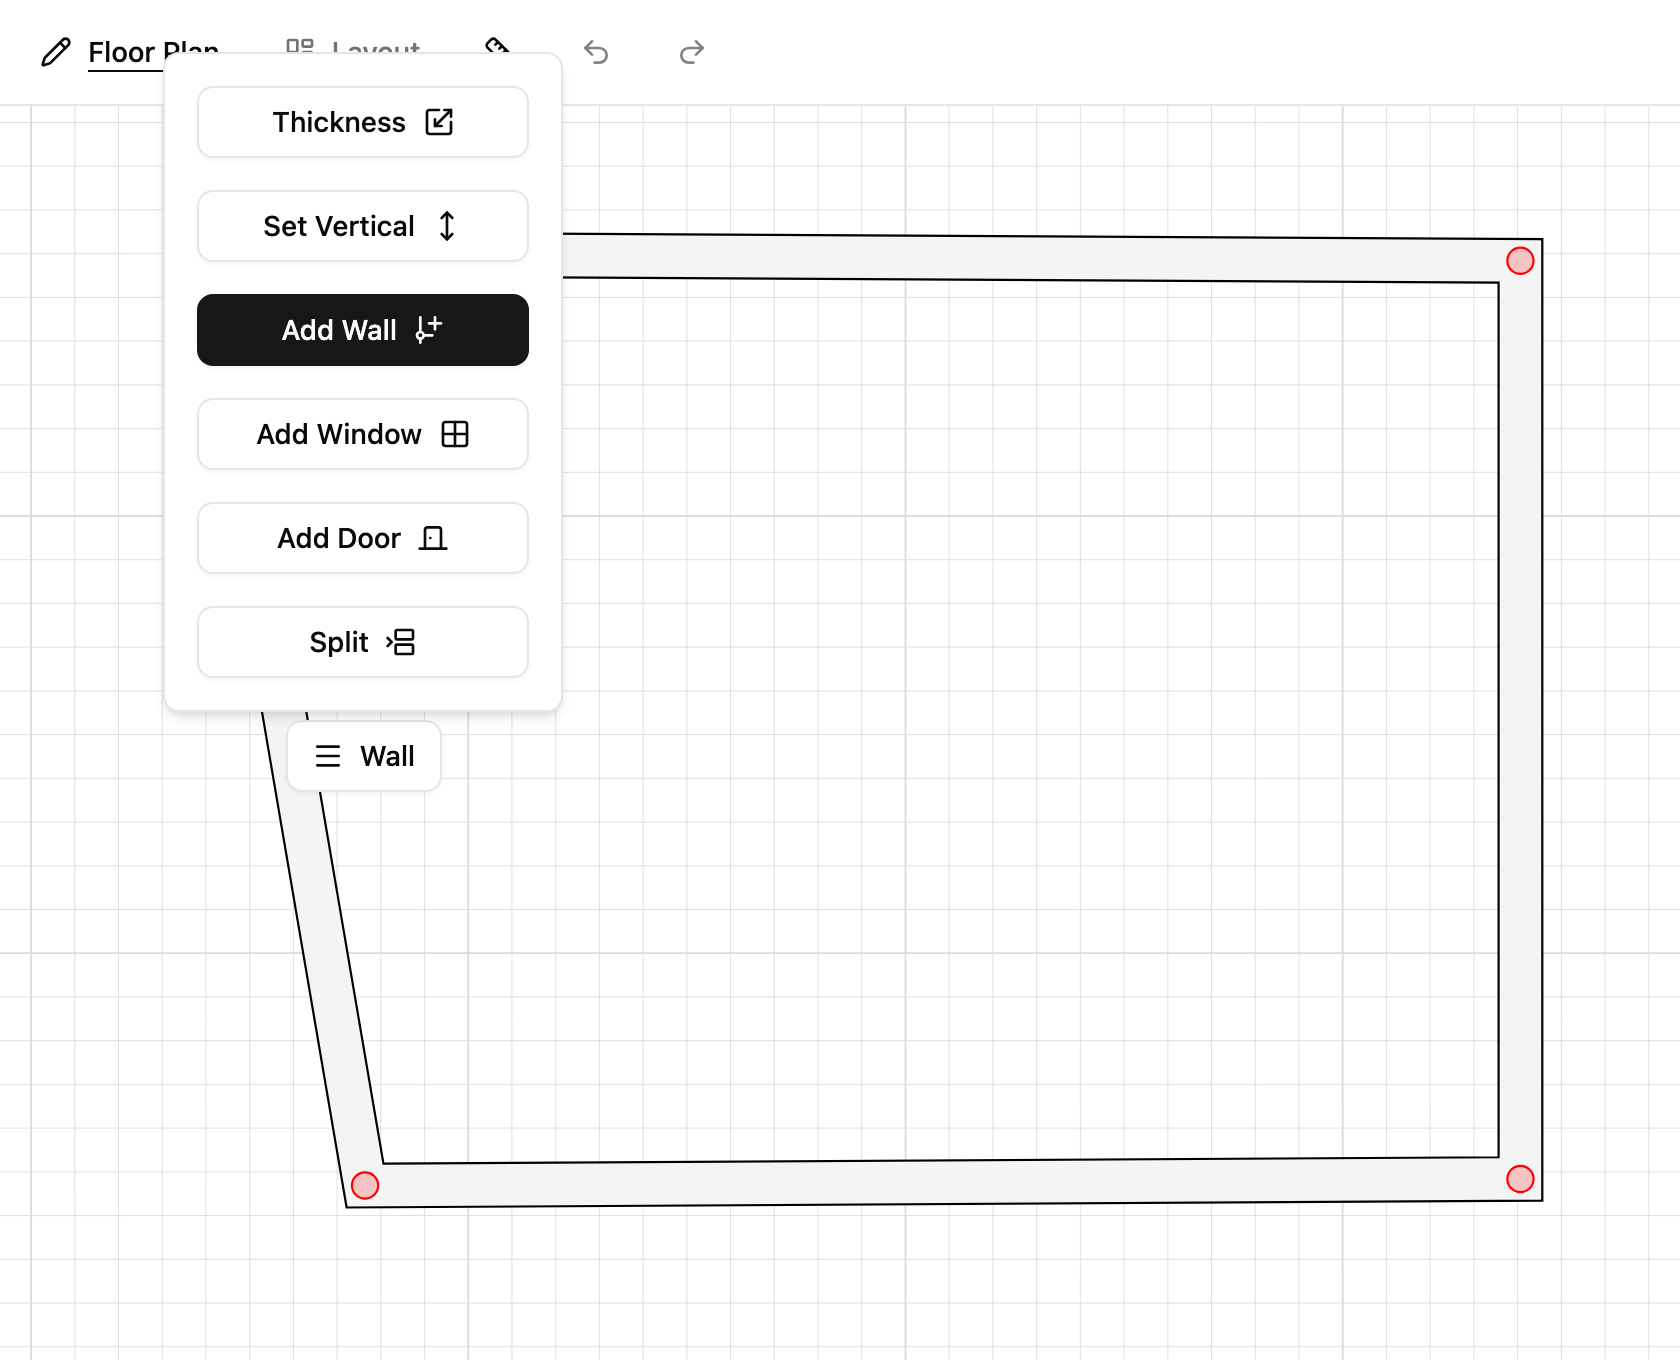
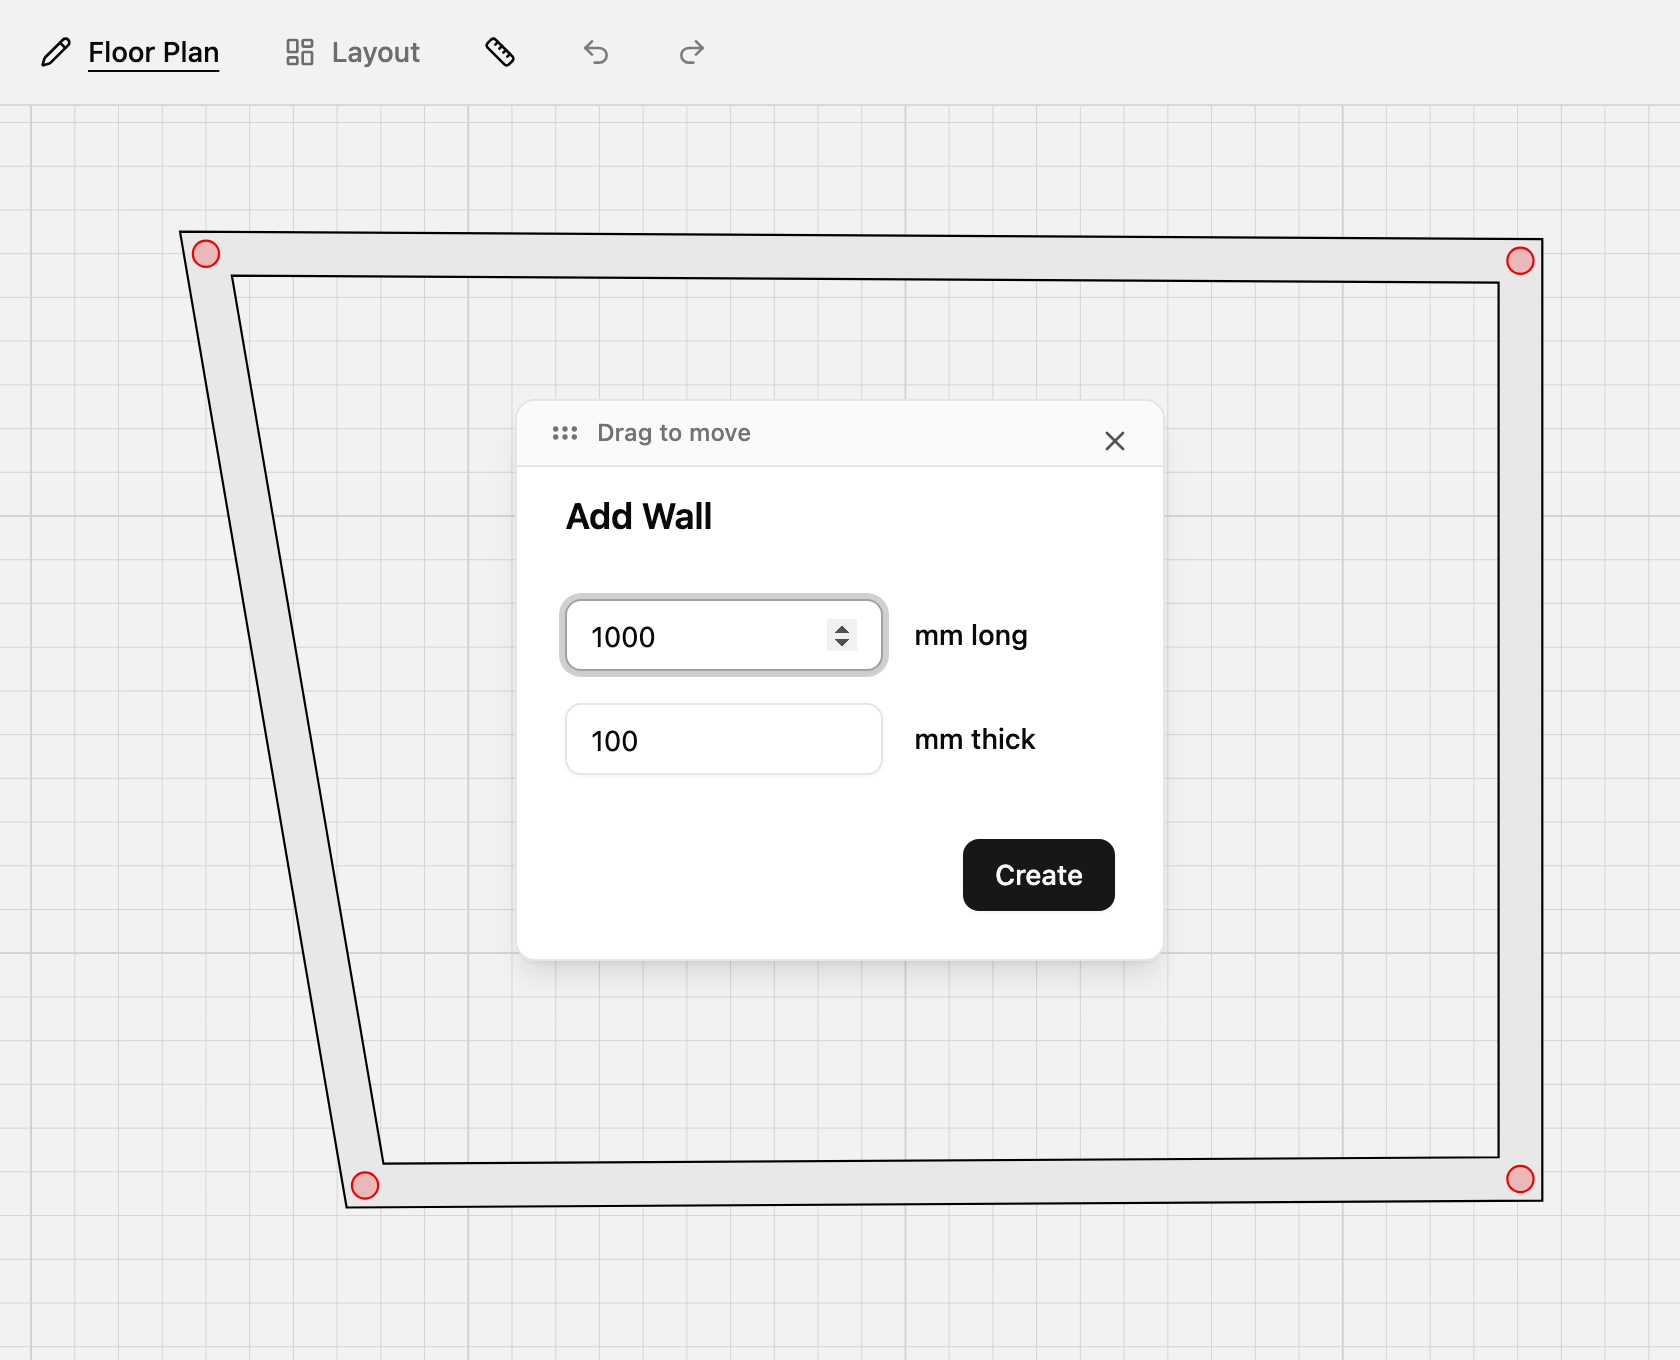
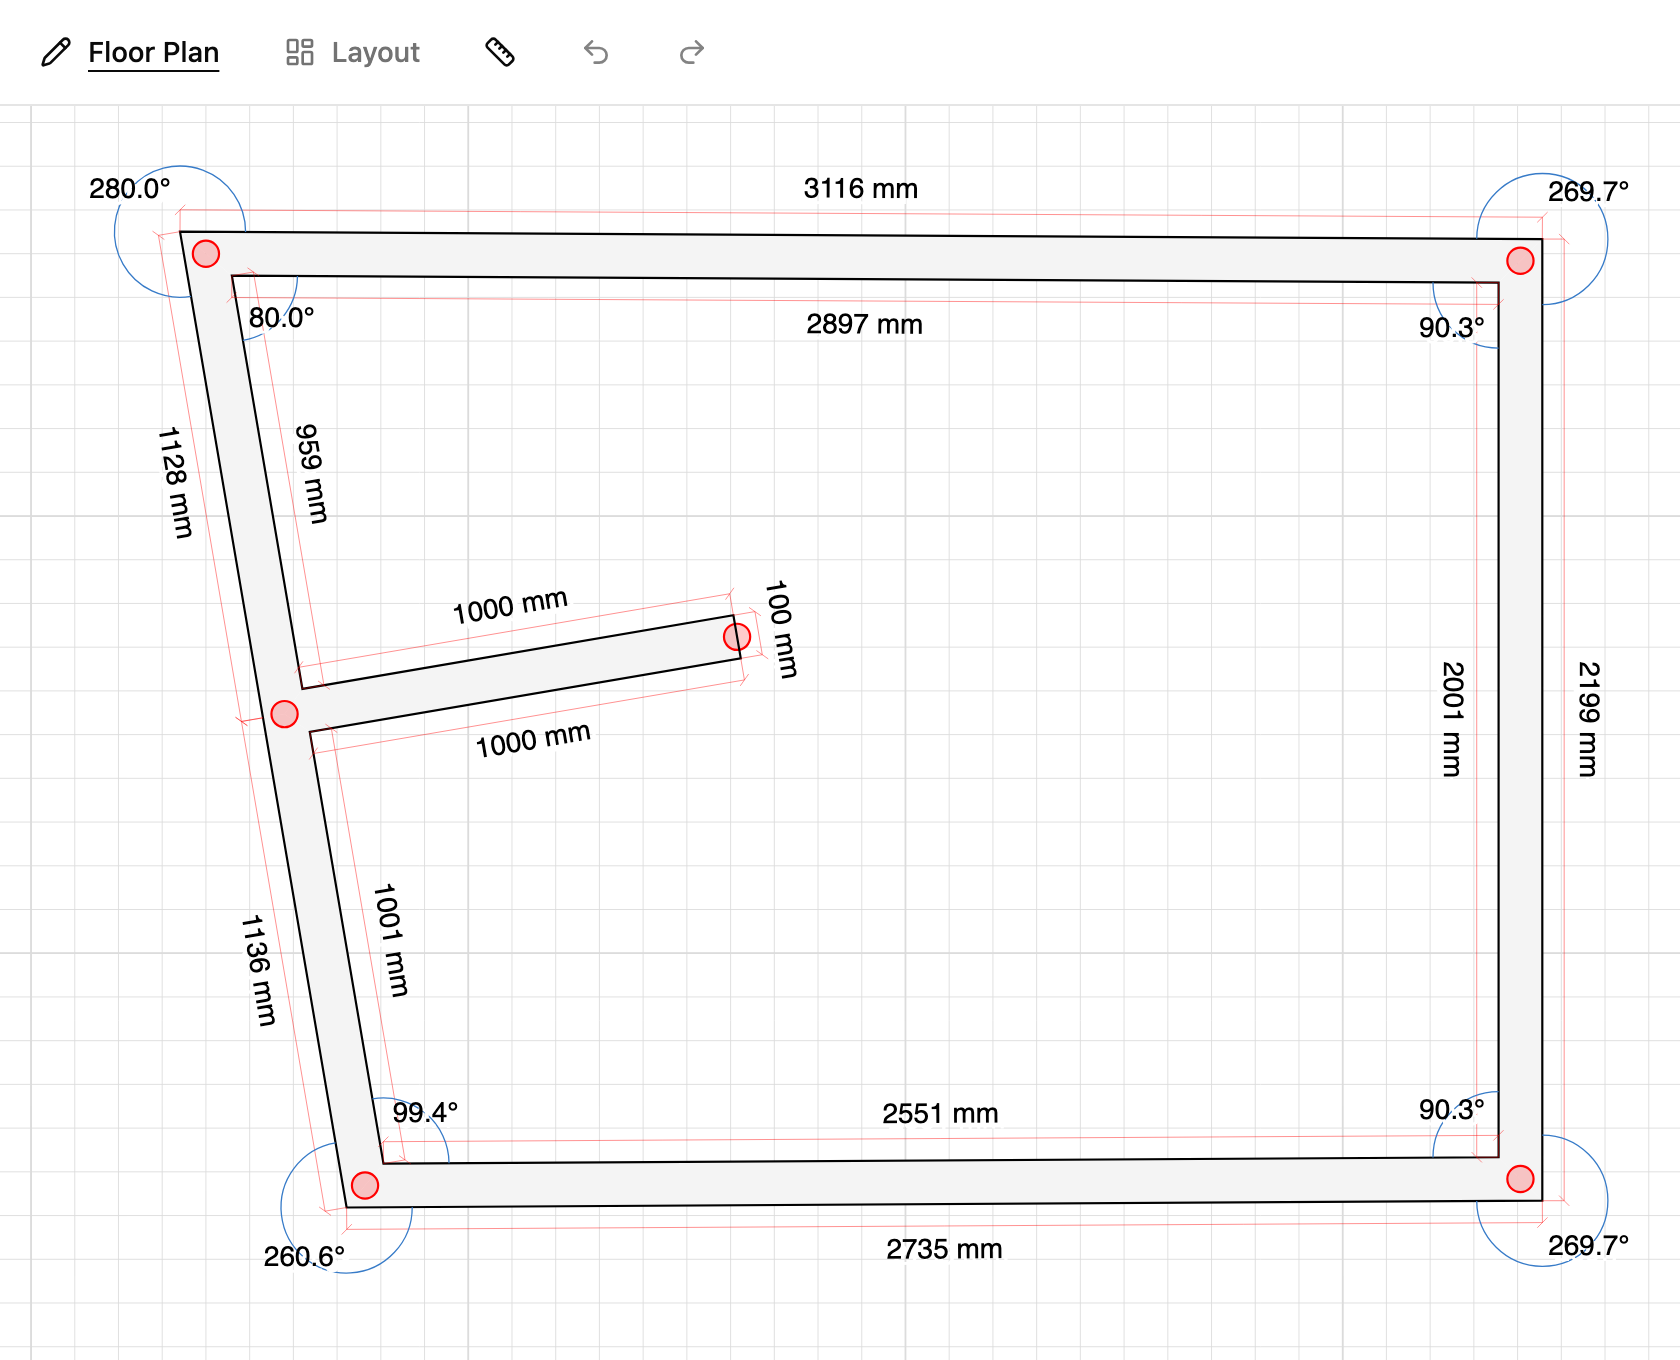
Click a wall without dragging, then choose Add Wall from the context menu. Enter the length and thickness in the dialog.
Easy alcoves
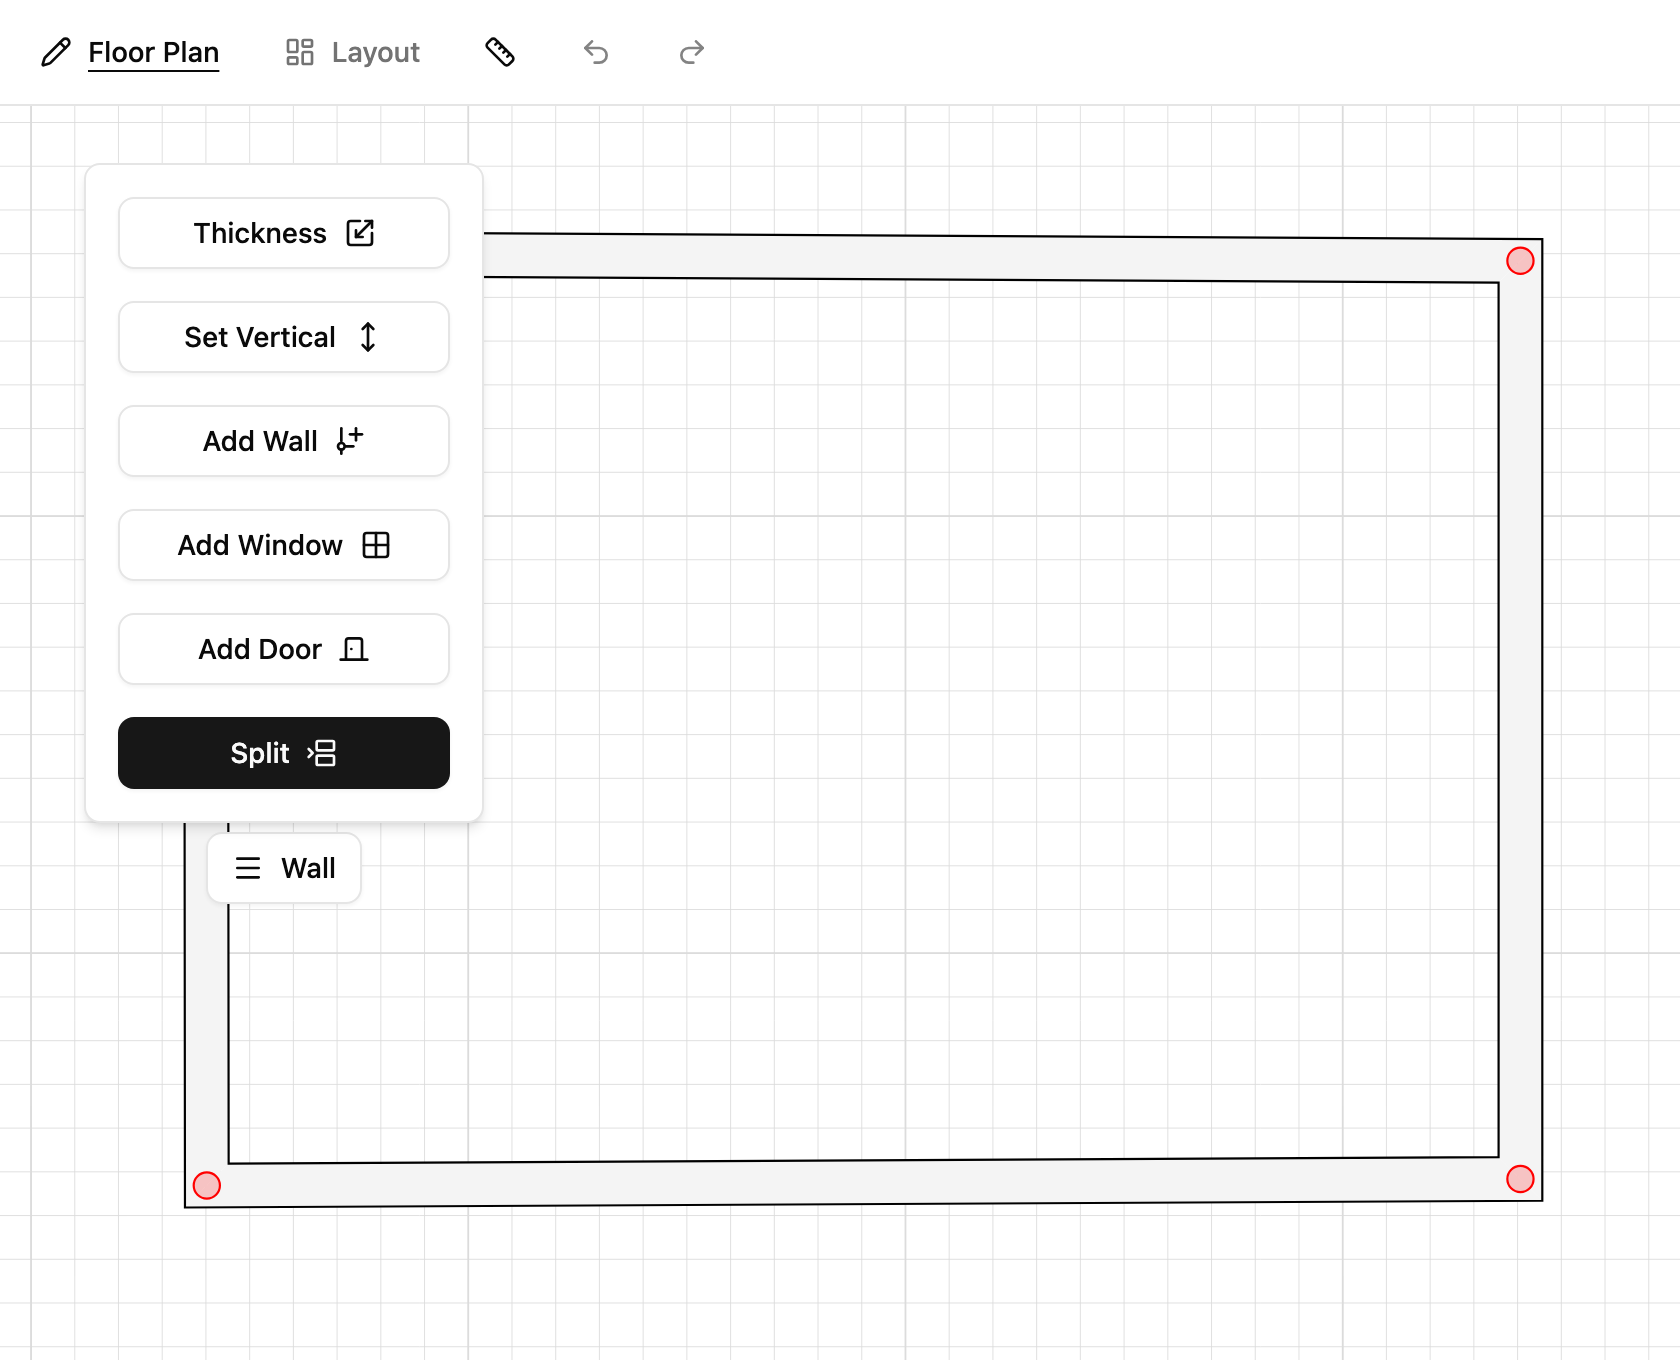
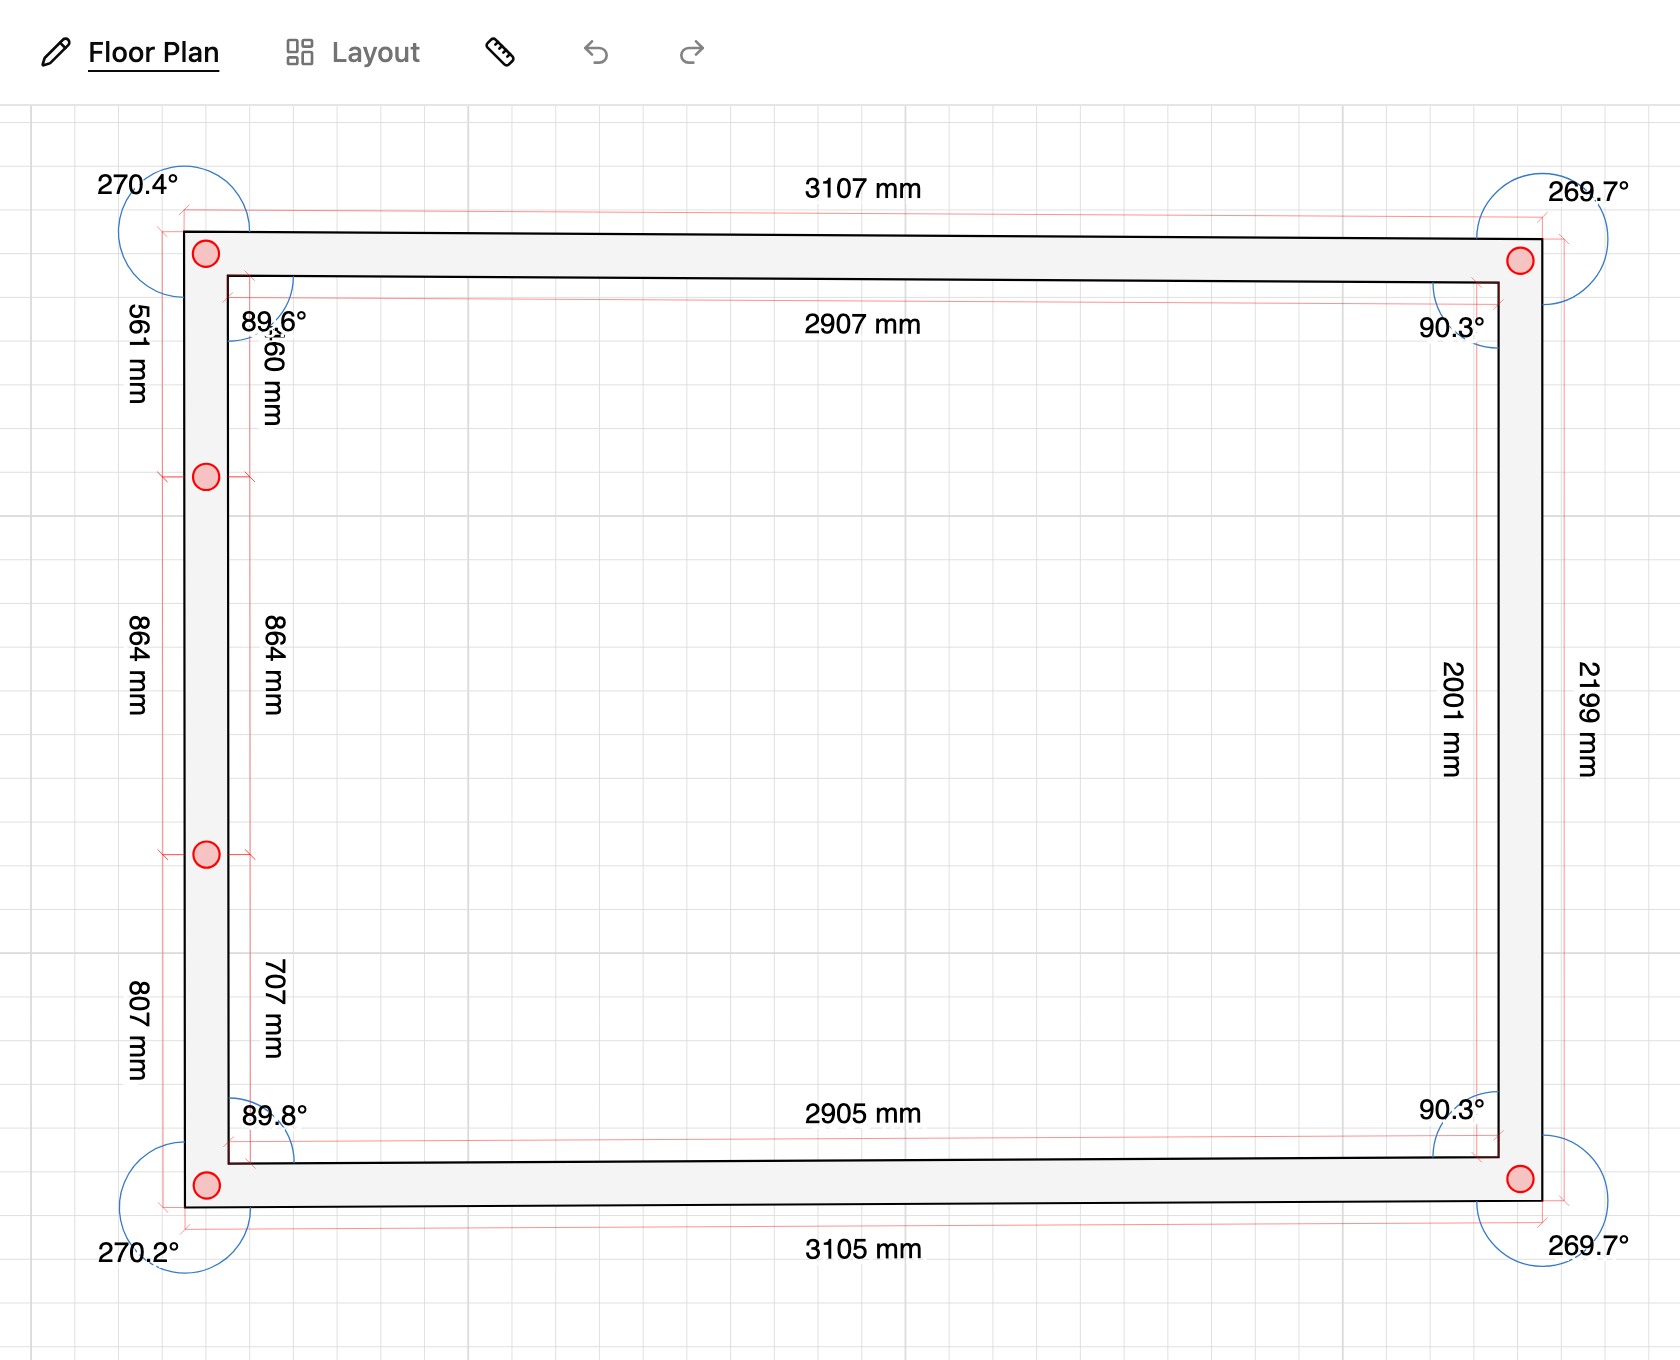
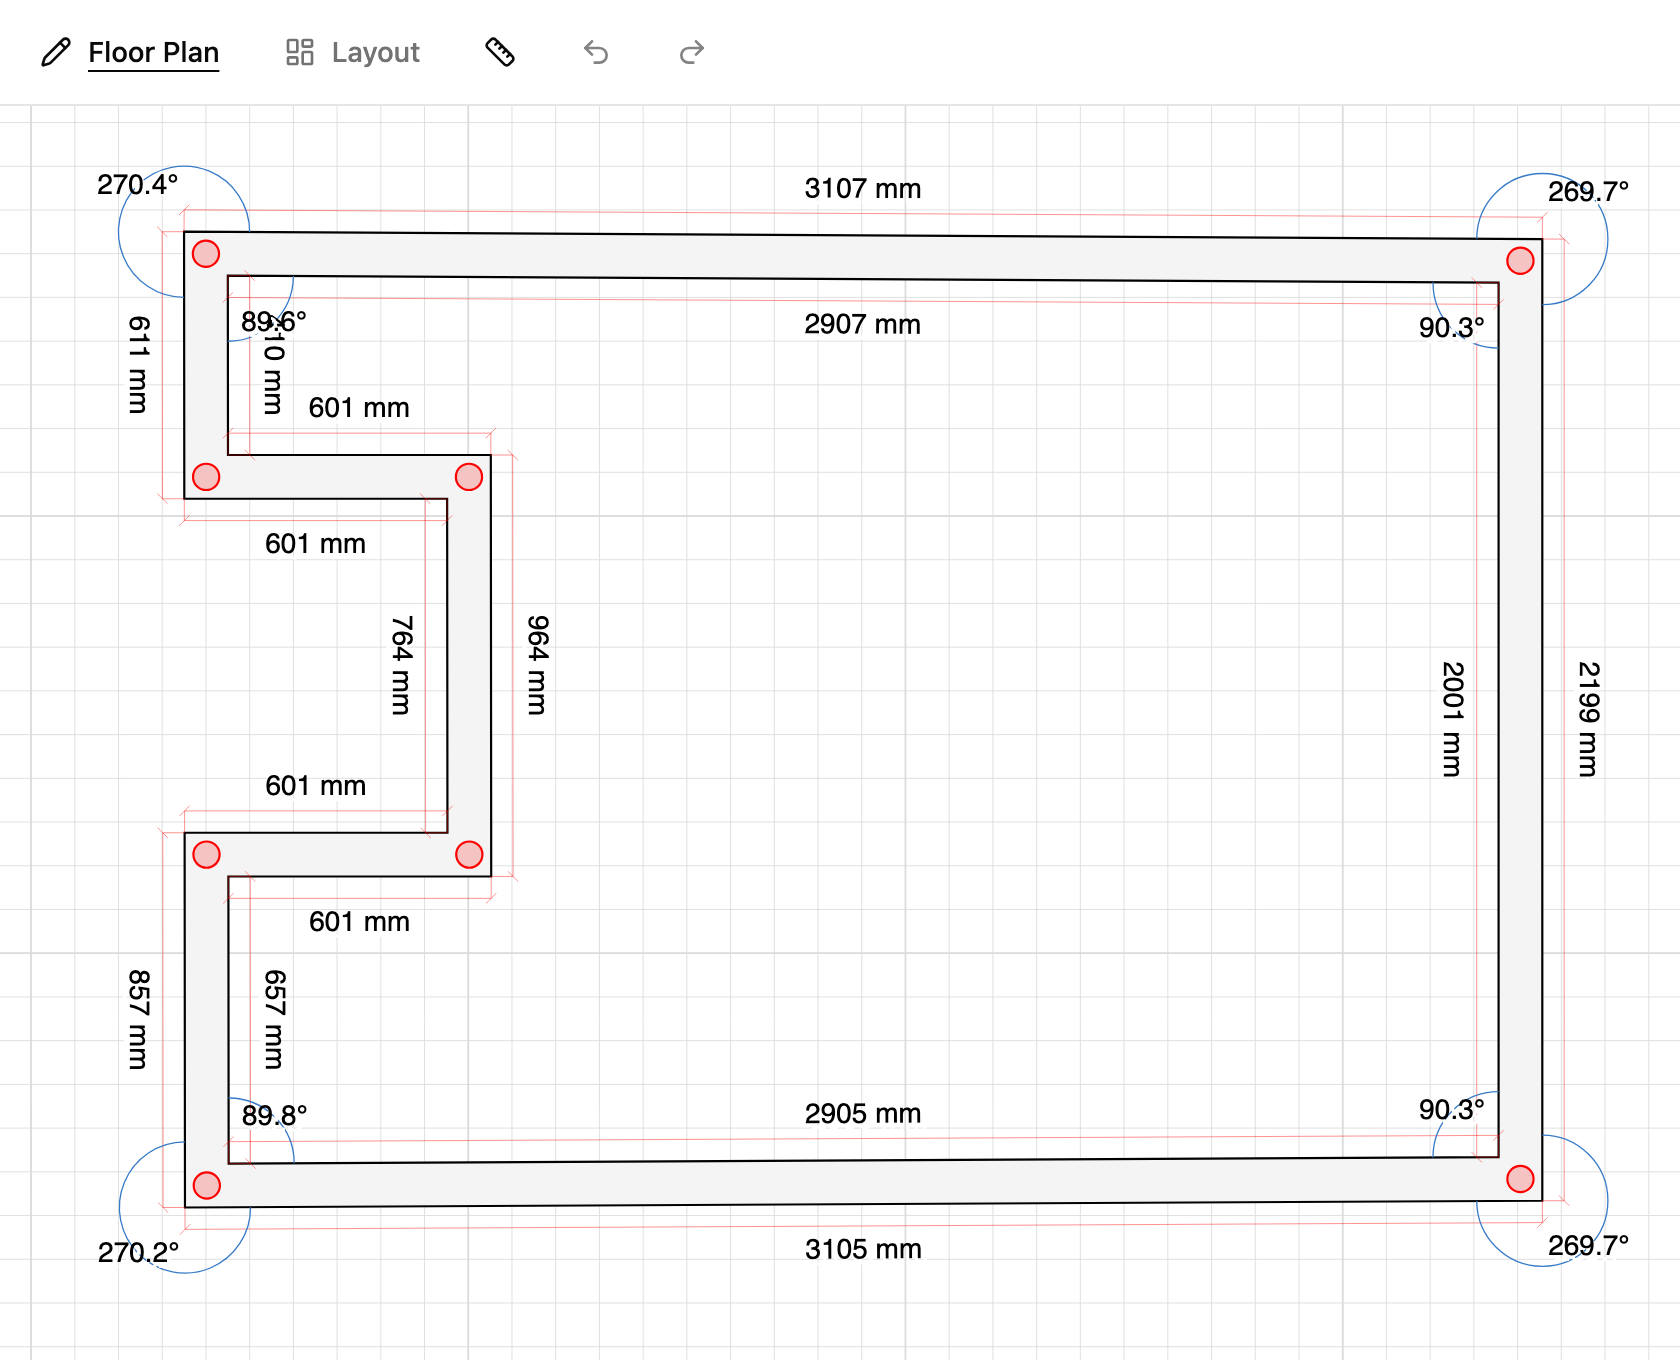
Split a straight wall twice using the context menu. Drag the middle segment perpendicular to the wall — the app automatically forms a recess. Undo if a drag goes wrong. The walls must be perfectly straight for this to work.
Merge corners
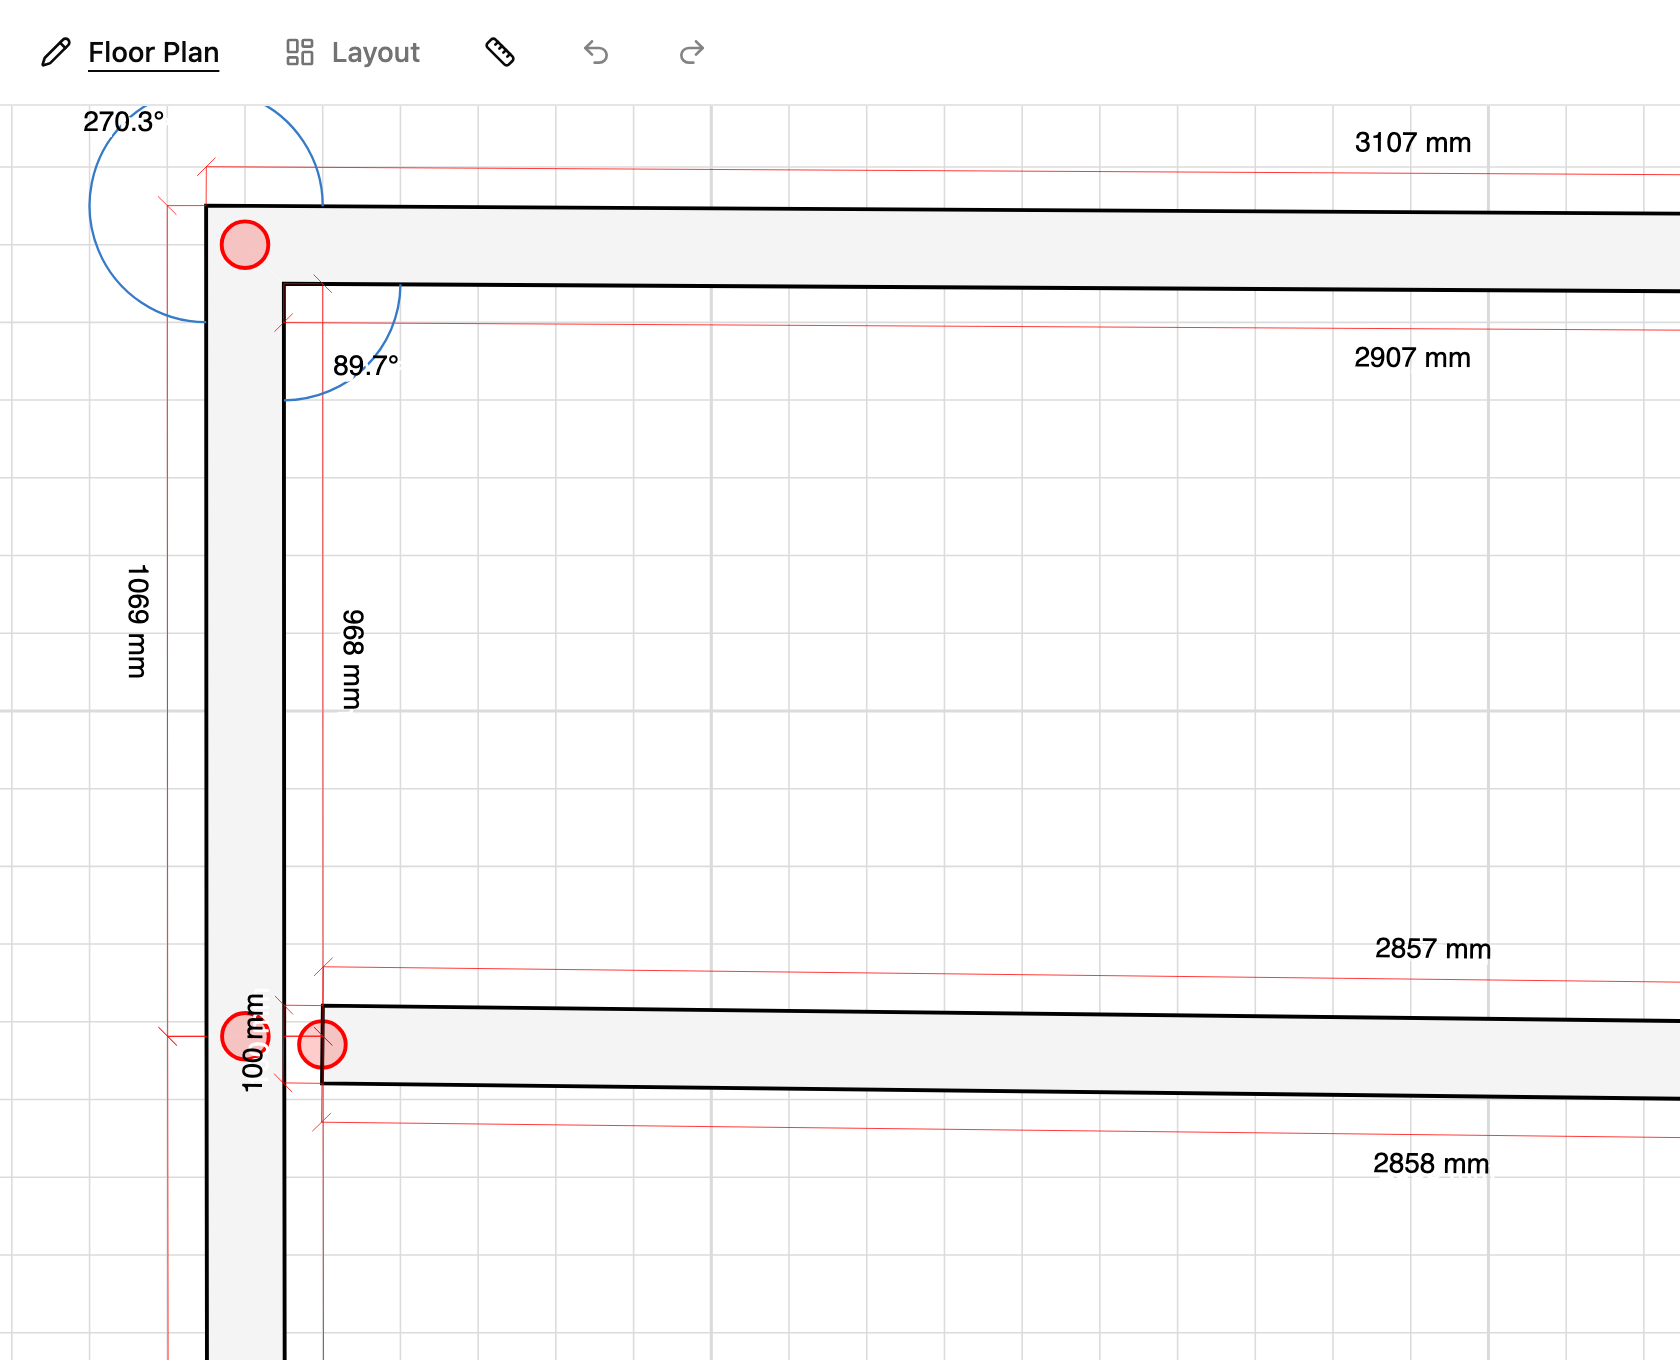
Drag one corner onto another - when close enough the nodes snap and merge into one. Use this to tidy up extra corners after splitting or adjusting walls.
Trace with a guide image (subscription required)
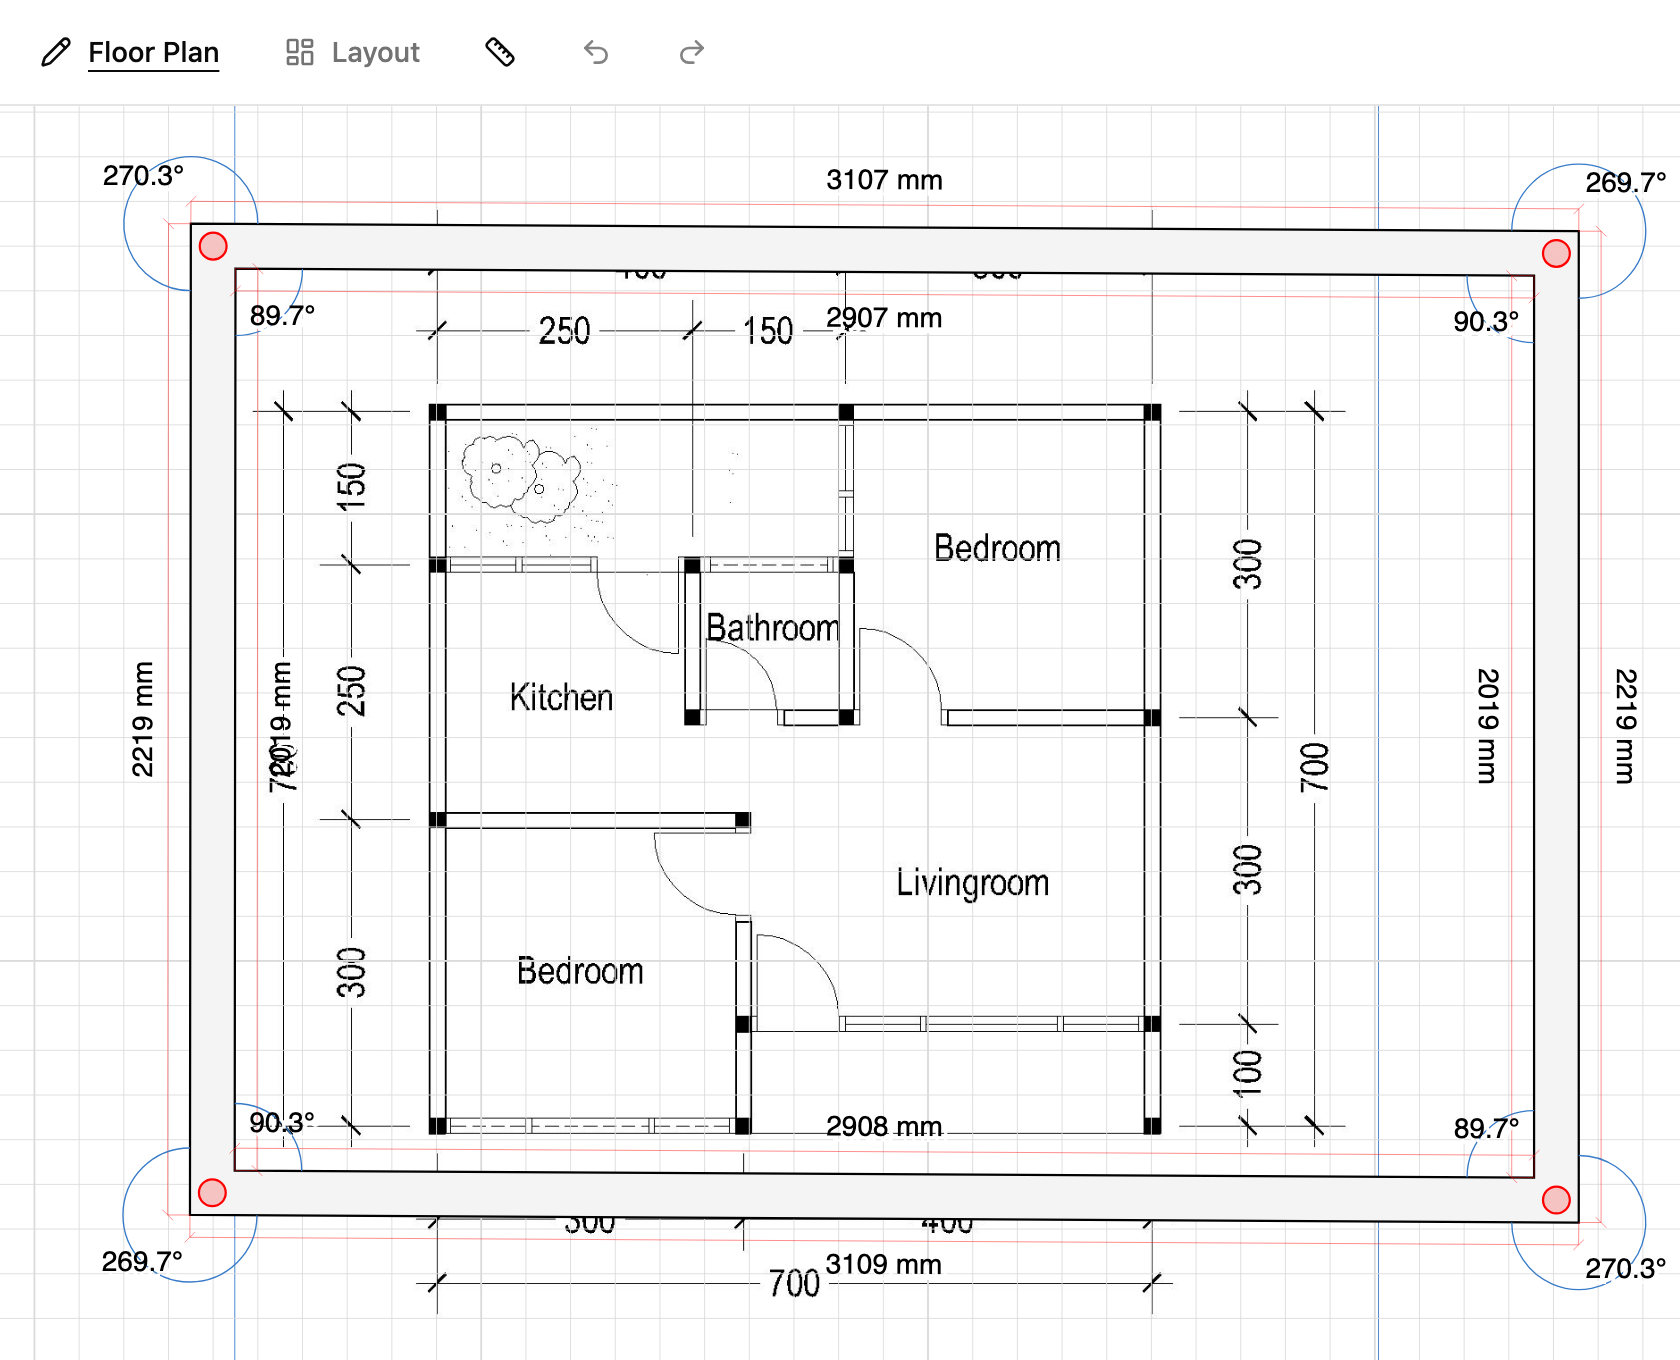
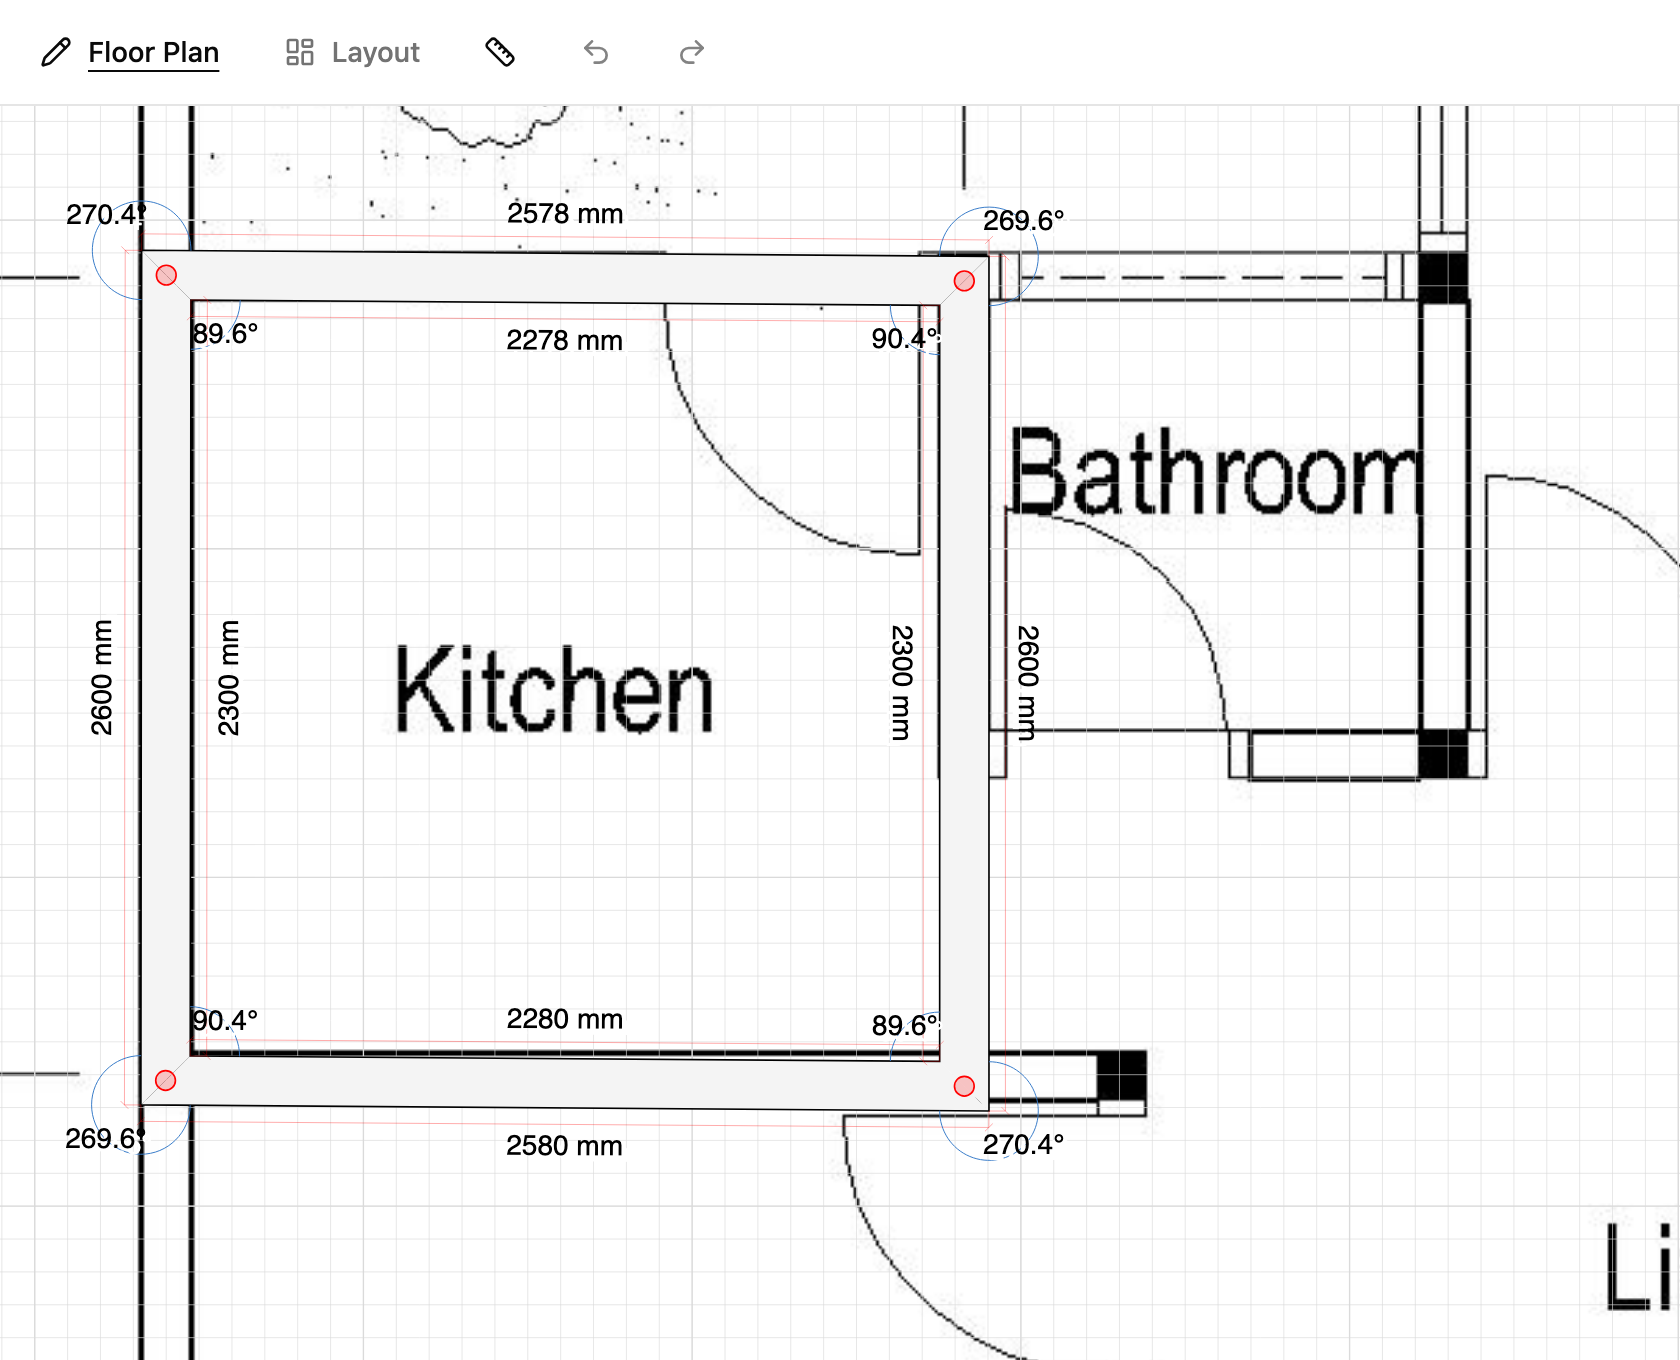
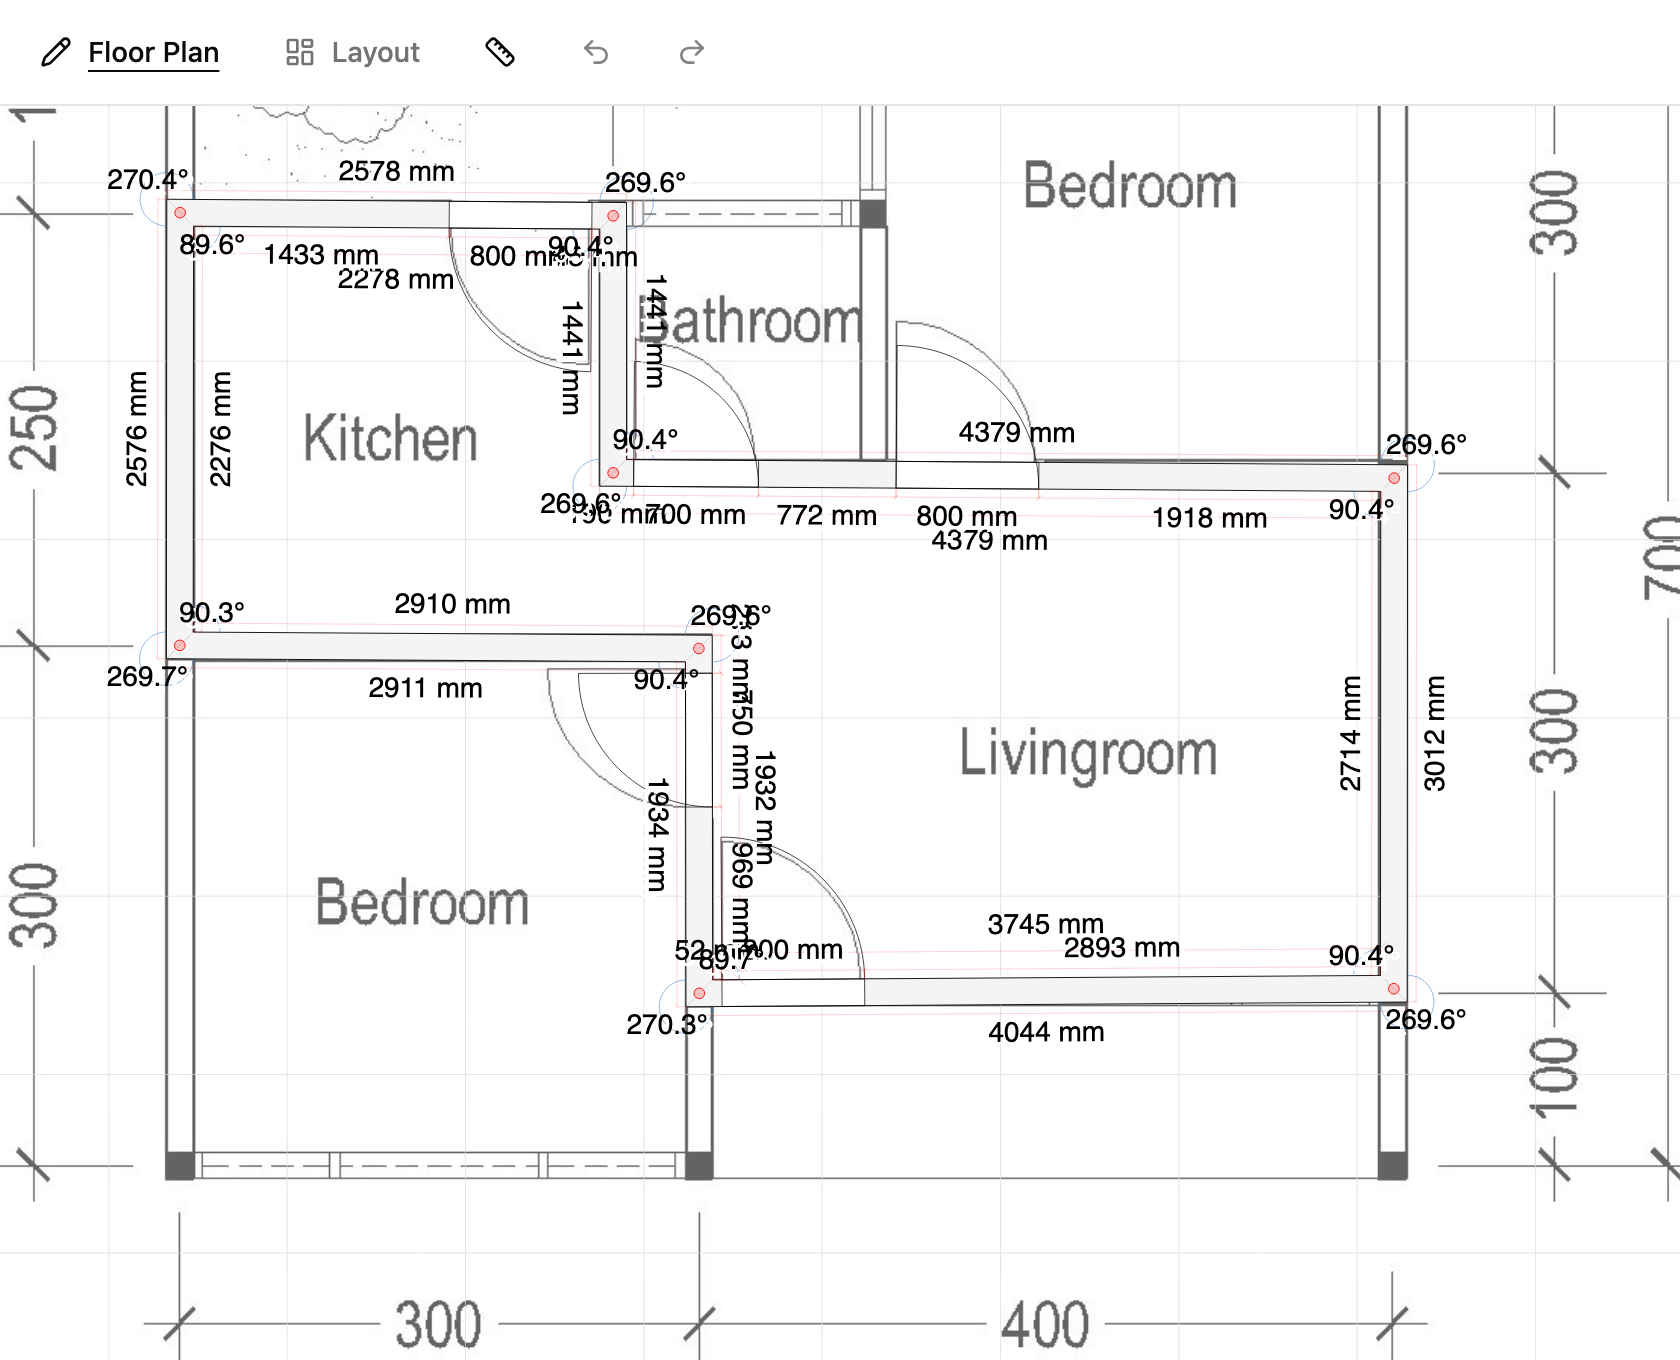
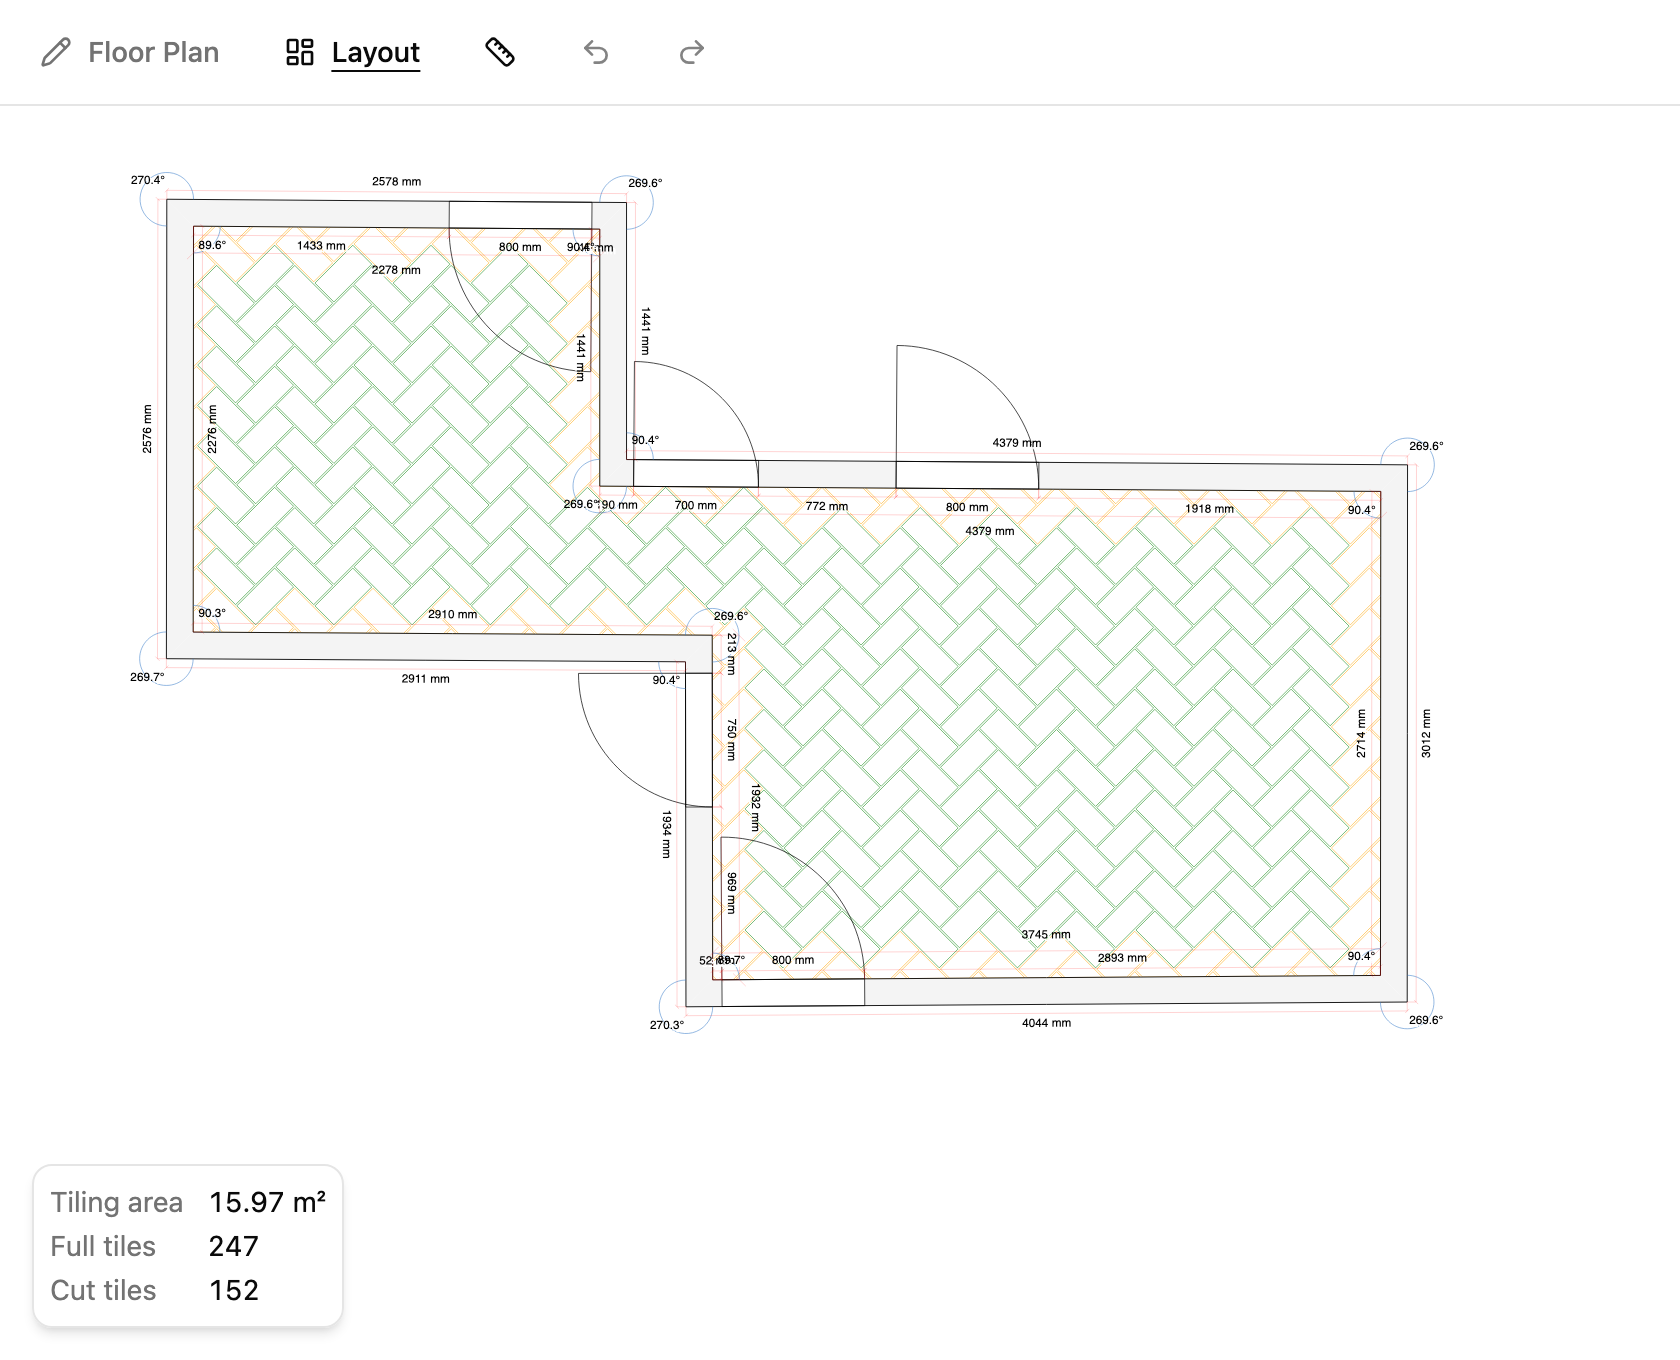
Open Configure in Floor Plan mode and upload a Guide Image, like an architect's drawing. The image's scale must be perfect before you trace any walls — if the scale is wrong, every length you enter will be wrong. Get this right by creating a wall of the correct length, then dragging and scaling the image to match. Once aligned, lock the image so it doesn't move while you work.