Your first project
Walk through a real first job — outer dimensions, an alcove, a door, then tile choice, grout, and layout position.
8 min read · 6 steps
Get the outer dimensions right
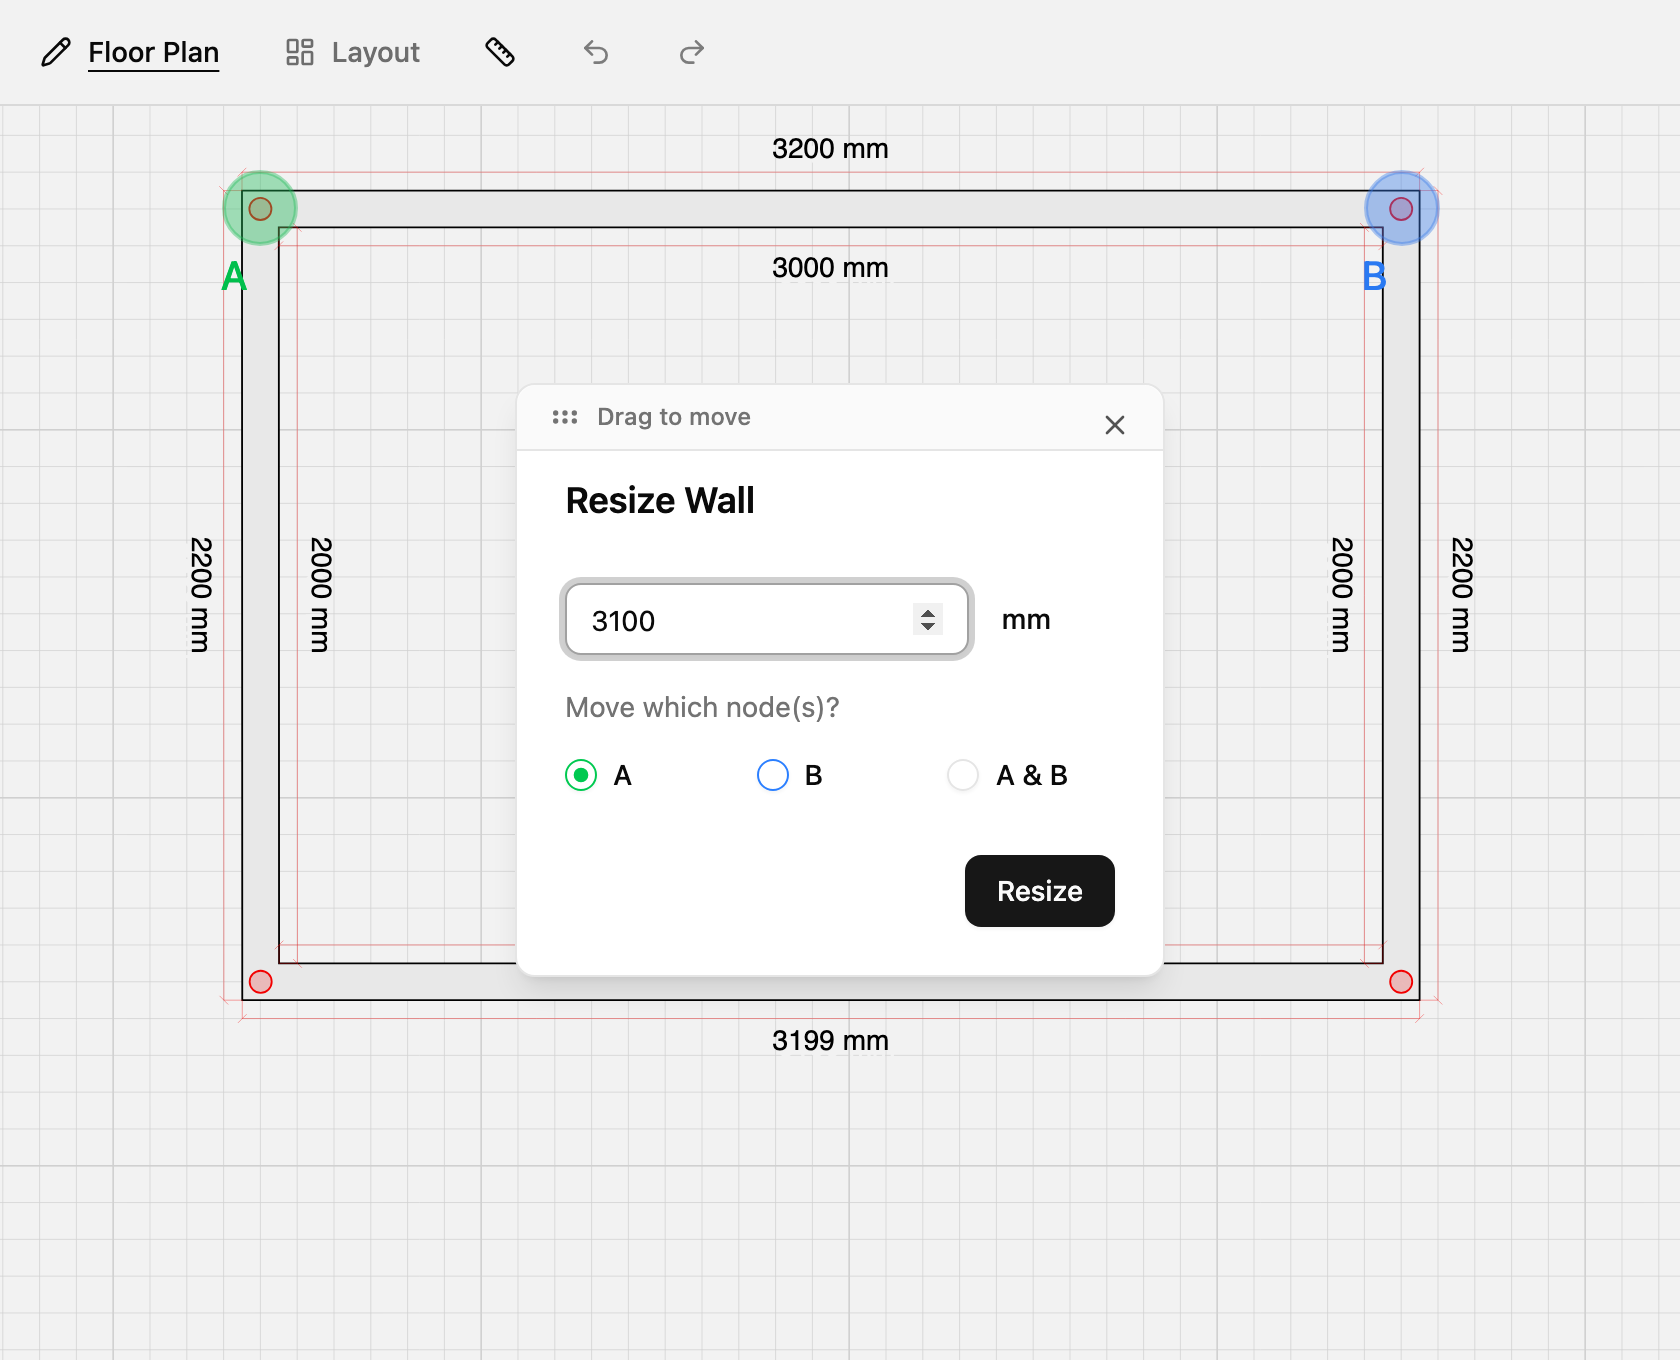
Start in Floor Plan mode with a simple rectangle. Click a wall length label on the canvas and type the measurement from your tape or laser. Repeat on each outer wall until the box matches your site measure.
Shape an alcove
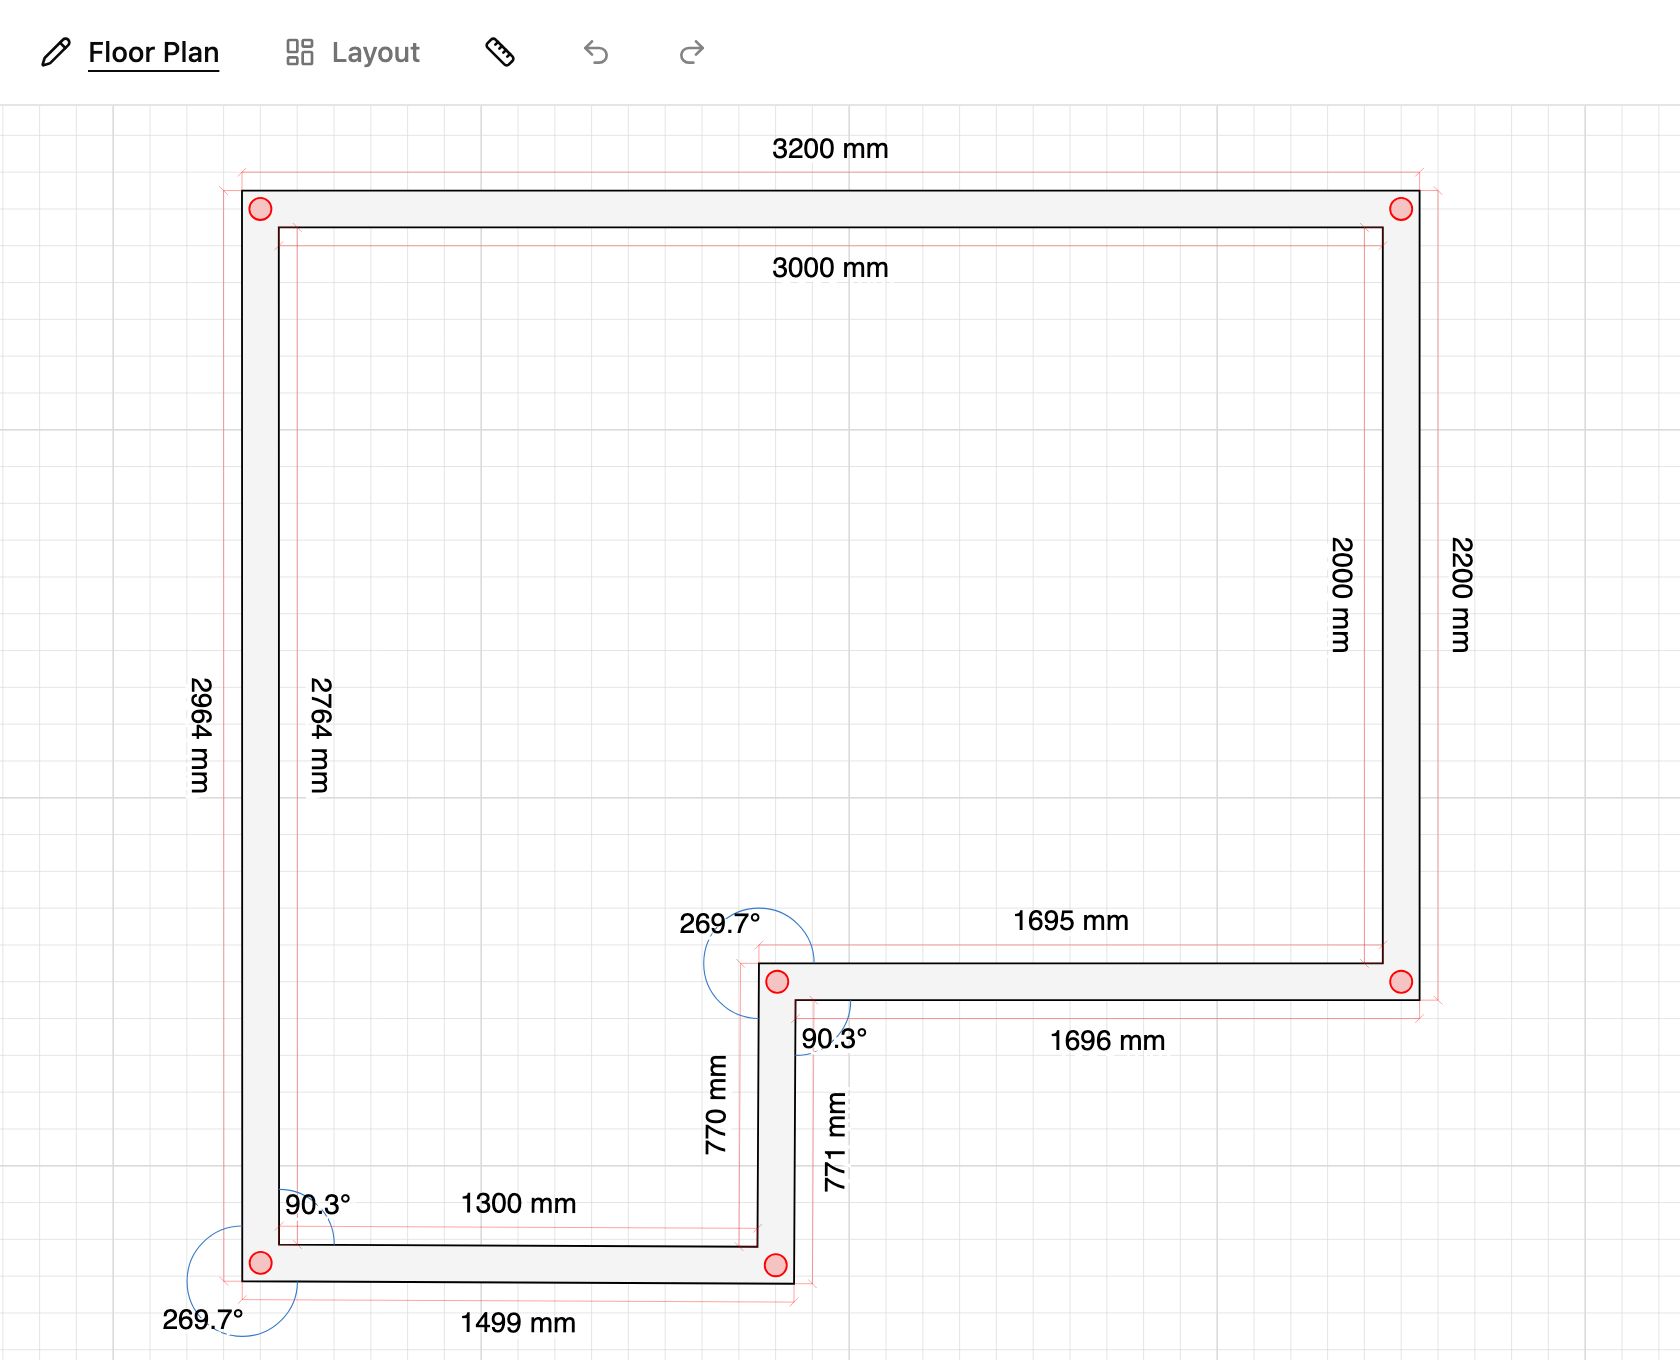
Click a wall to add nodes, then drag corners to notch the room — an L-shape or a small recess. Pan and zoom as needed; undo fixes a mis-click.
Add and position a door
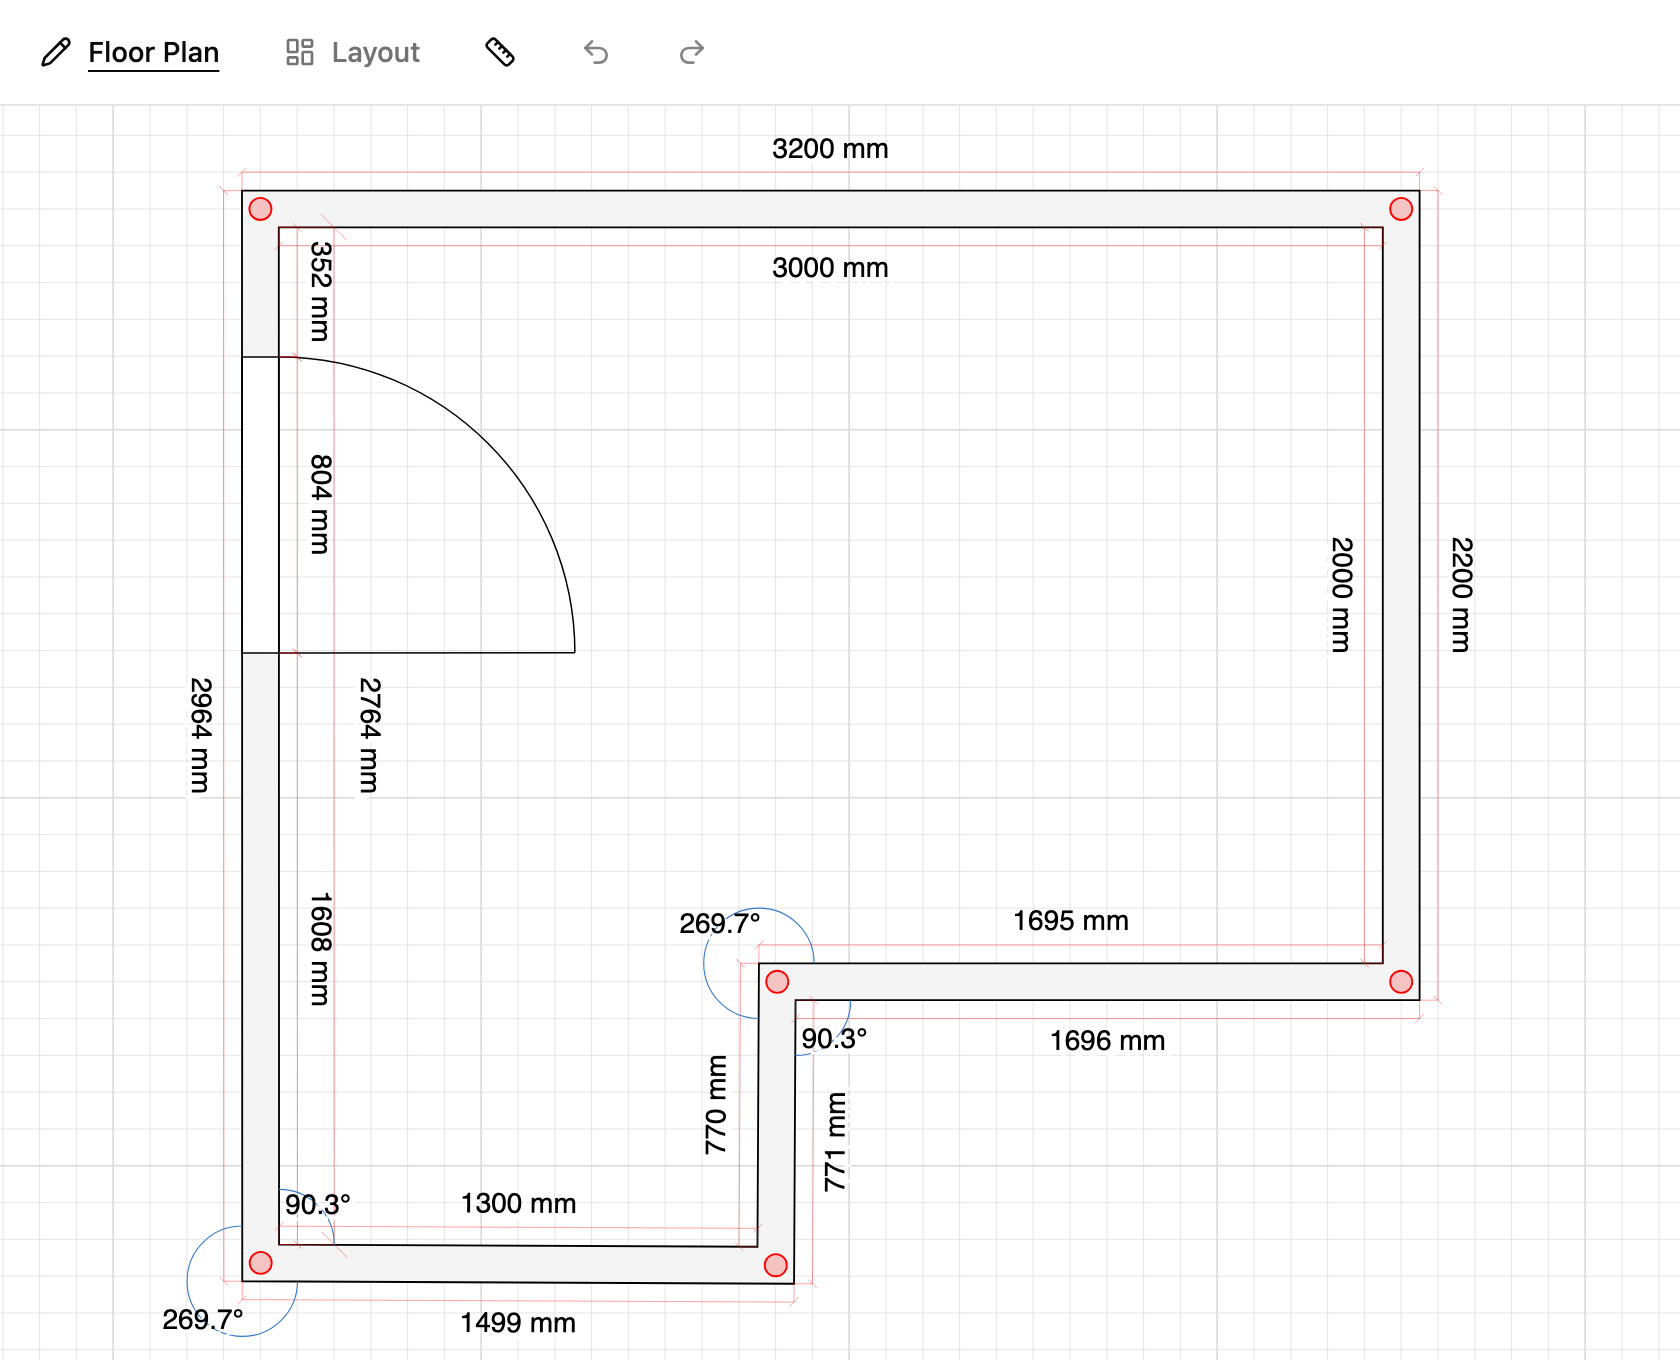
Click a wall (without dragging) and choose Door from the menu. Click the gap or width labels along the wall to resize the opening and slide it to the right spot.
Choose tile and pattern
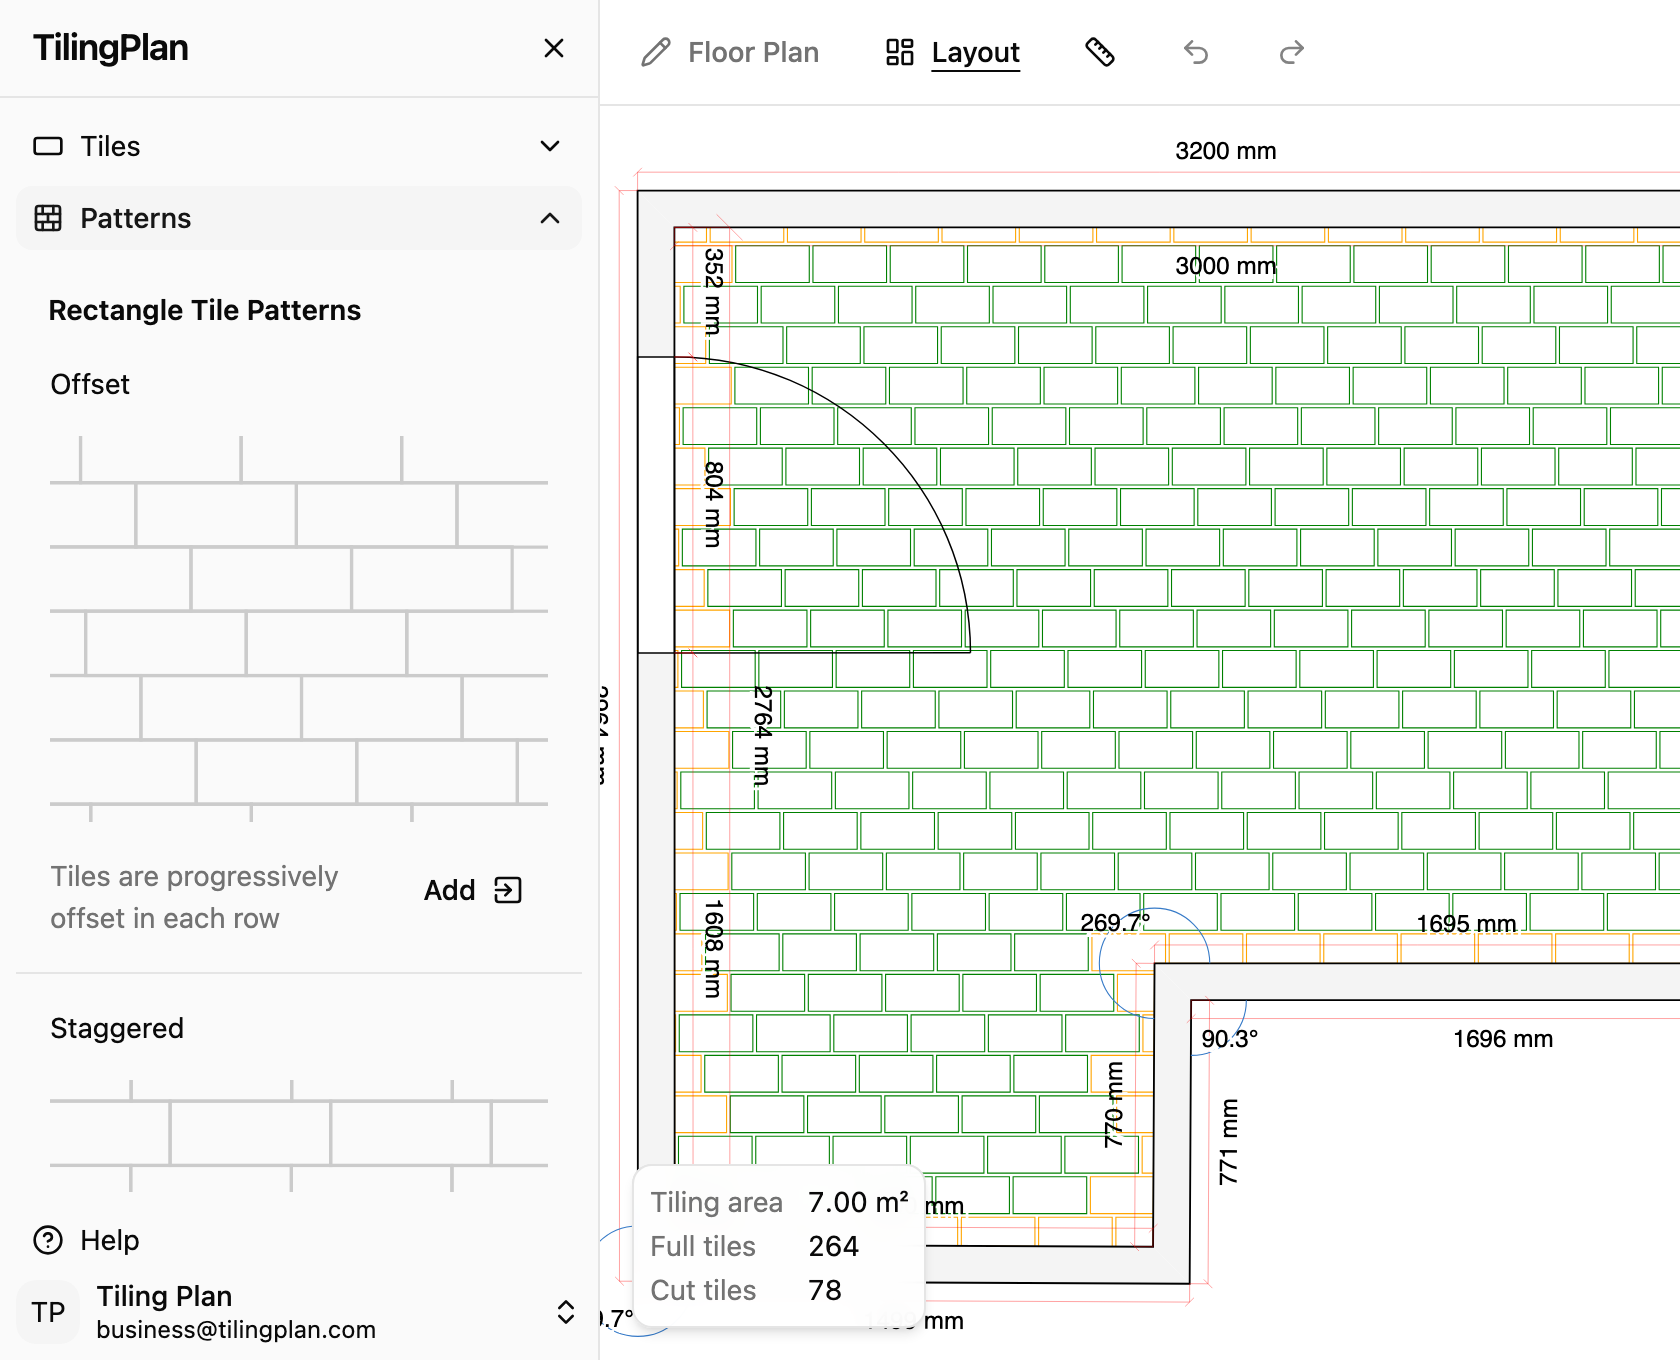
Switch to Layout. Open Tiles to pick a shape, then Patterns to swap the layout — herringbone, offset, and more. The canvas updates as you browse.
Set tile size and grout
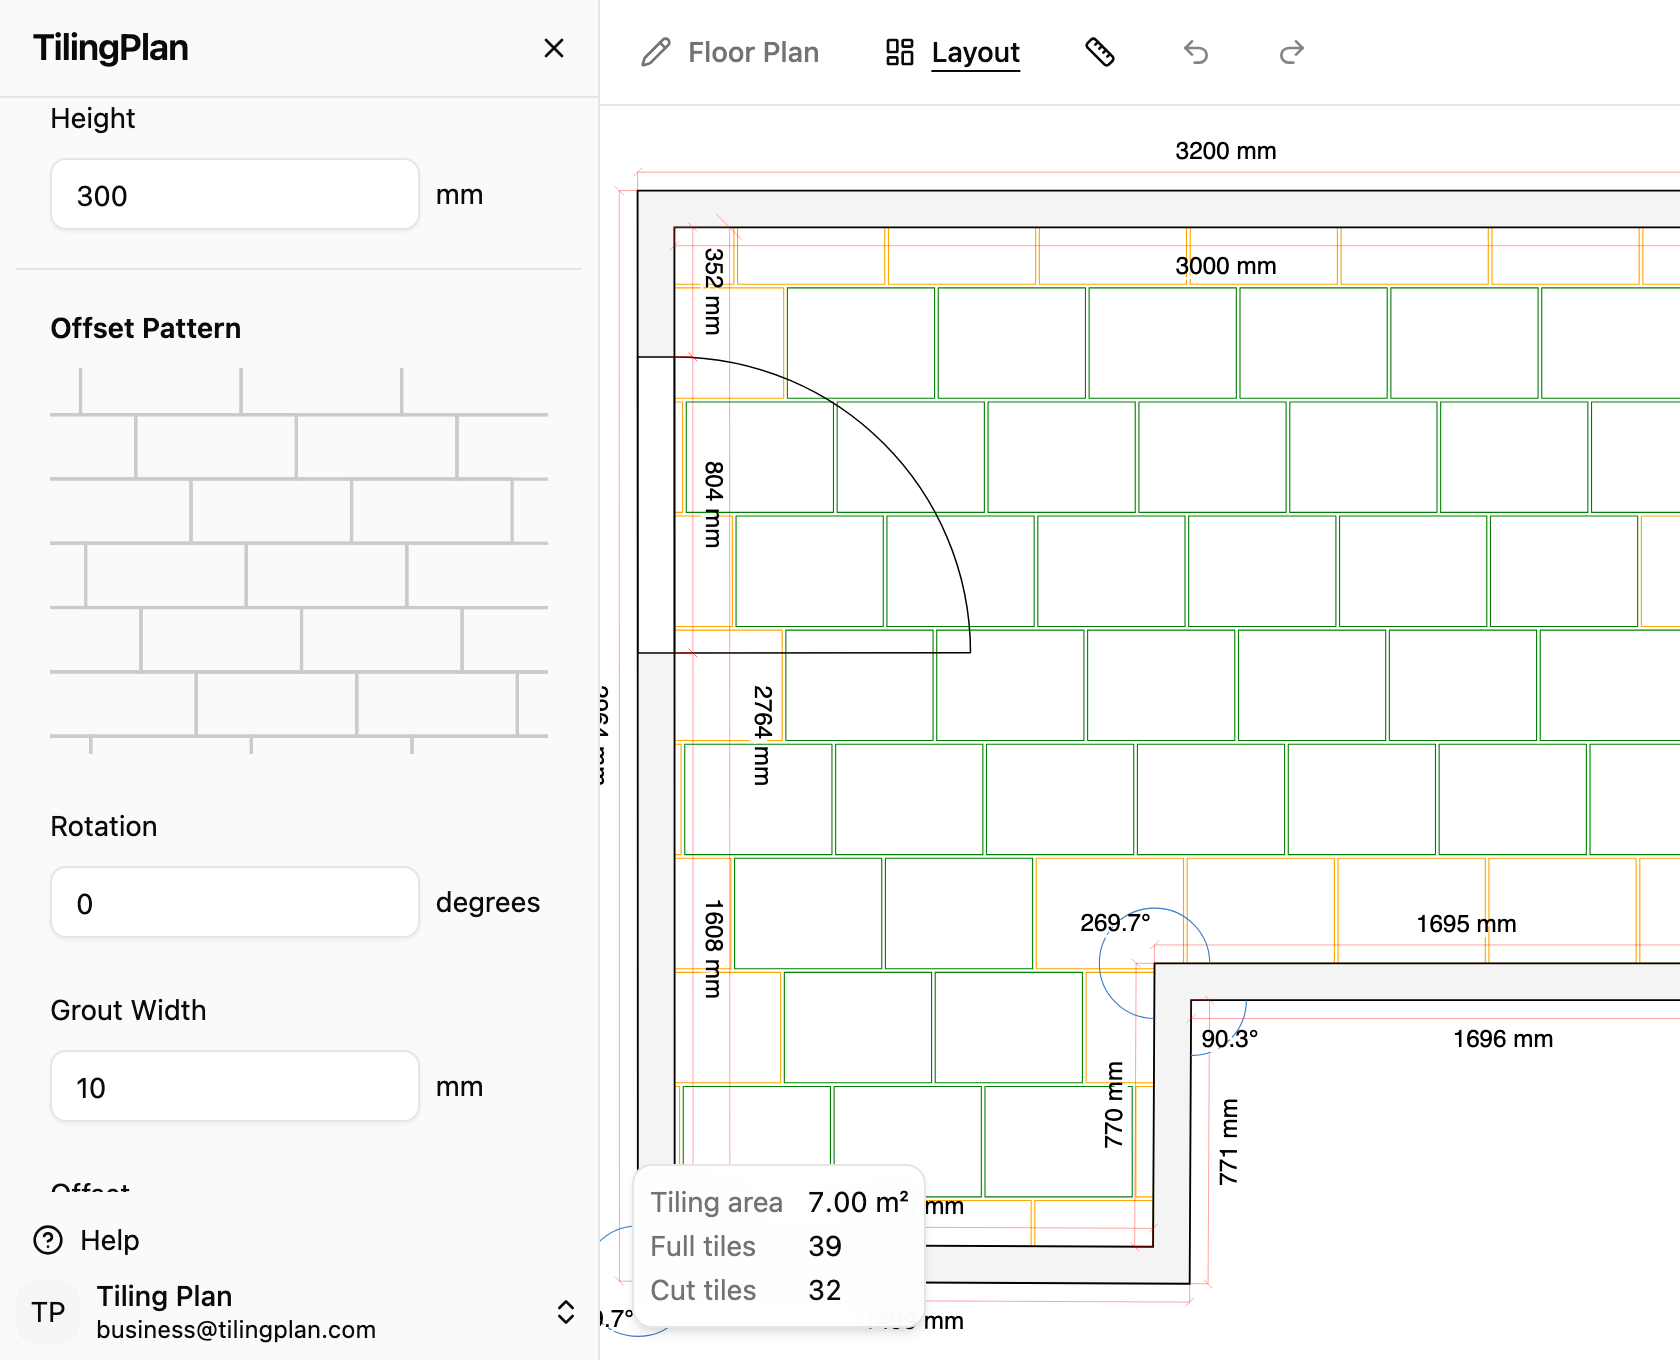
Open Configure. Adjust tile width and height to match your product, then set grout width. Watch awkward cuts move as the numbers change.
Drag to position the layout
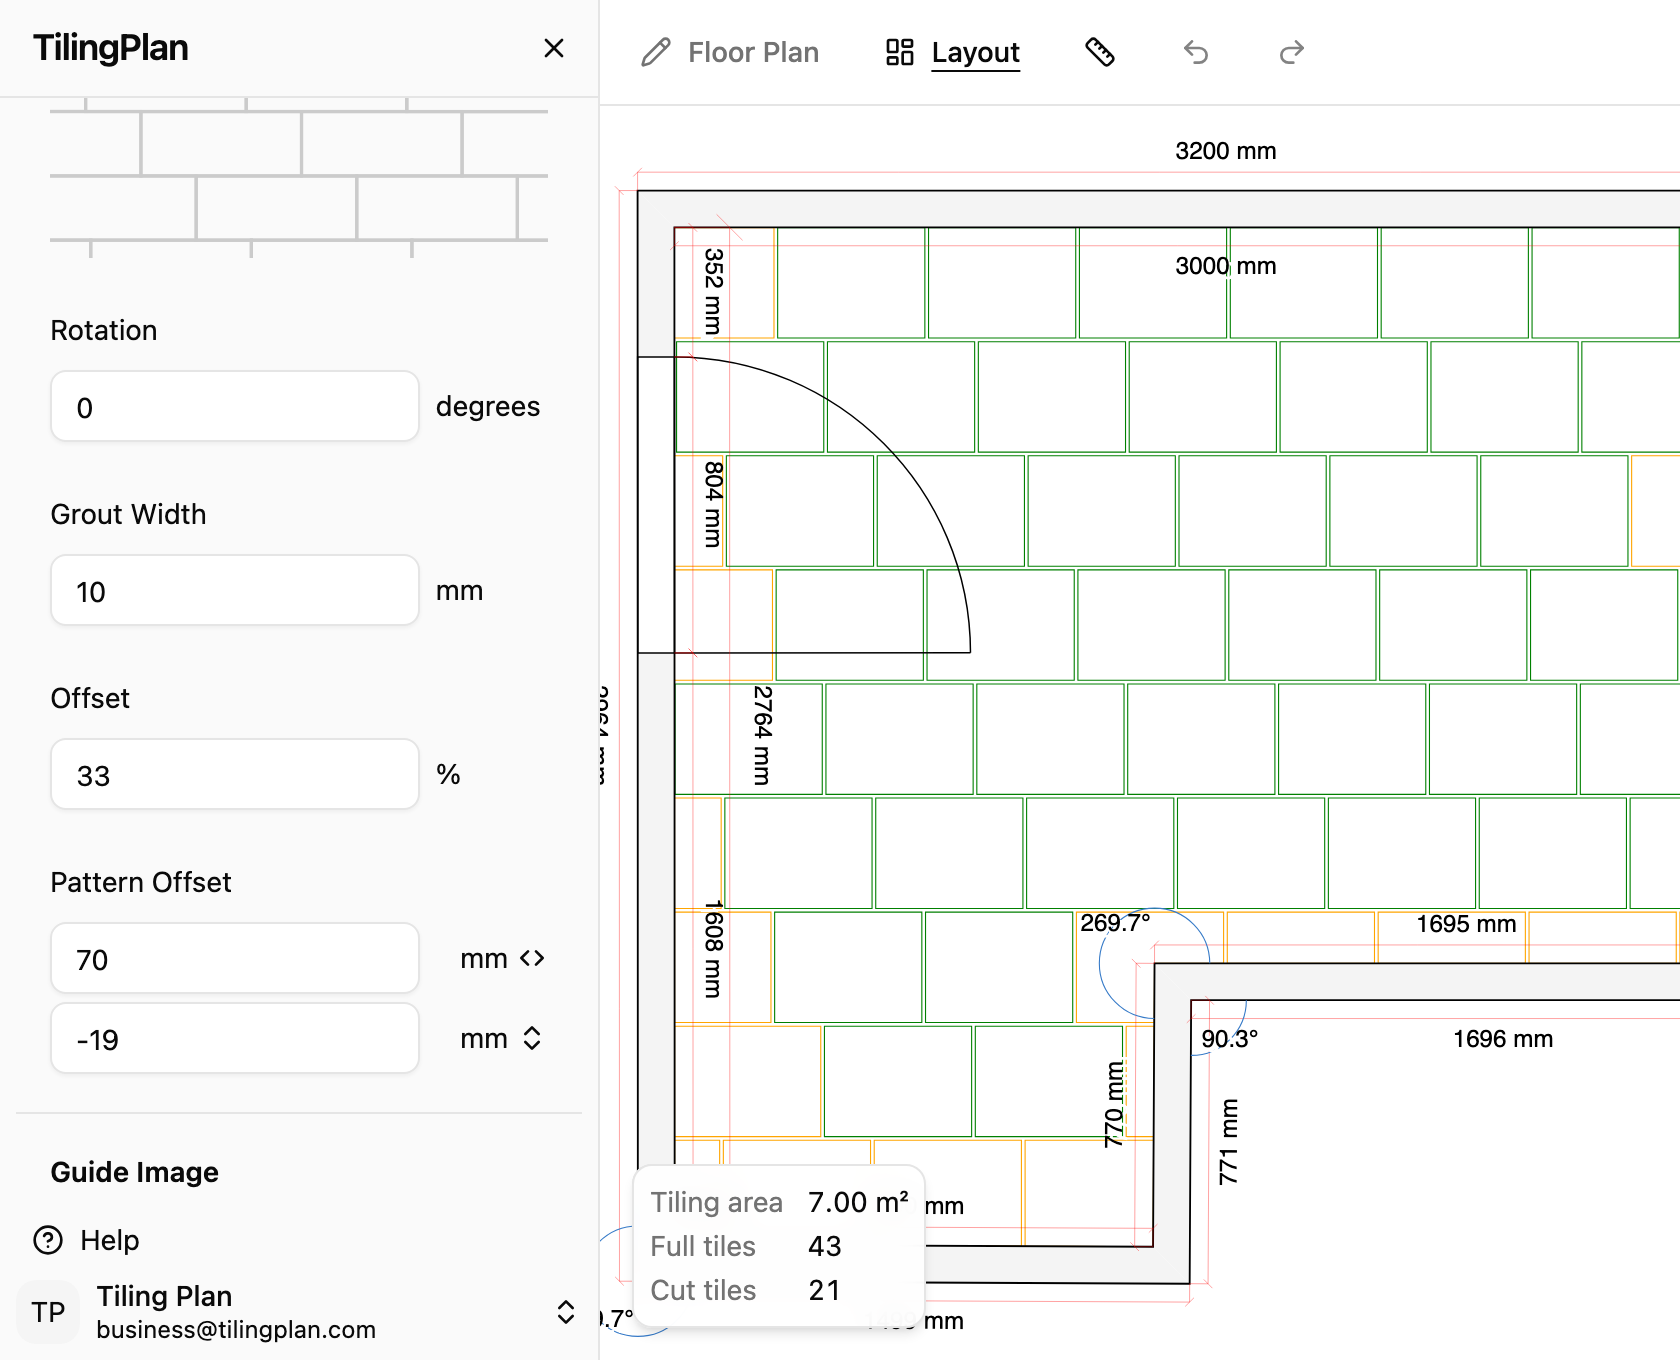
Drag the tile grid on the canvas to avoid awkward cuts, nudge until the layout looks right before you quote. Here we've reduced the number of cuts by a third.