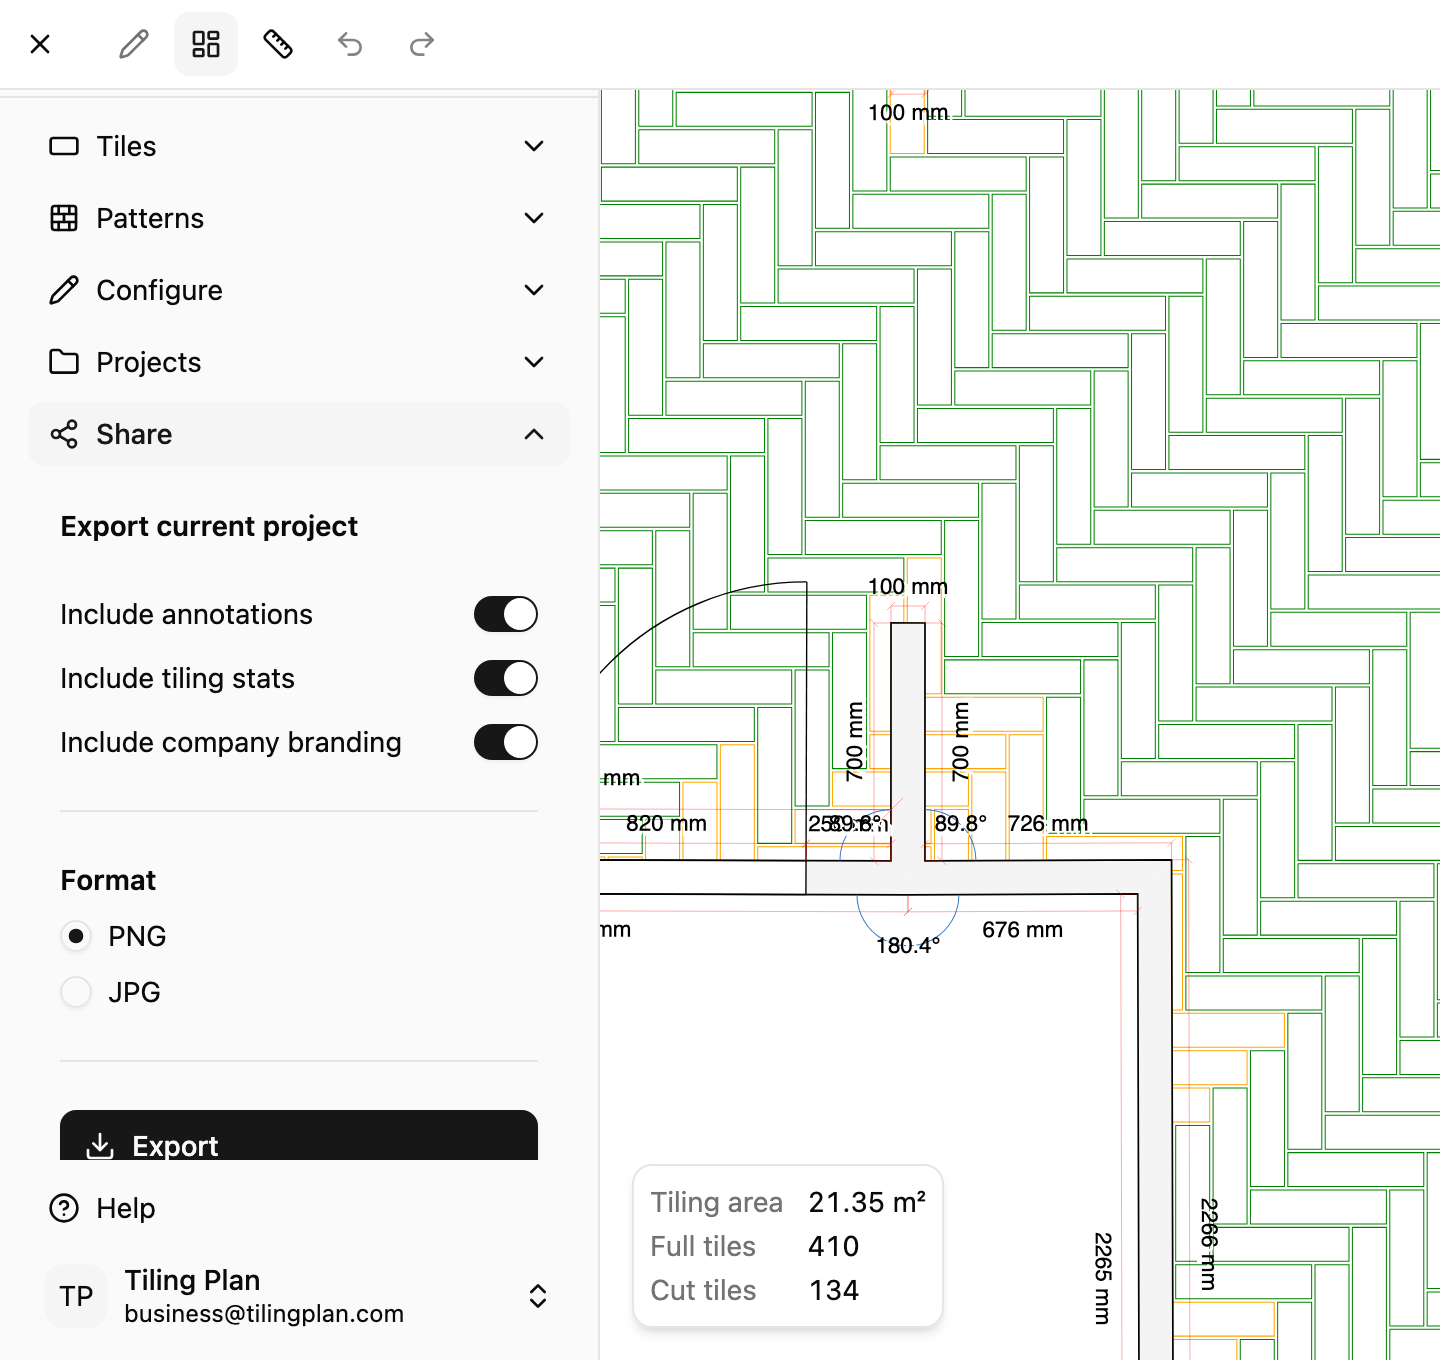
Intro tour
Everything you need to draw a room, refine the plan, preview tiles, and export a layout for your client.
3 min read · 5 steps
Your workspace
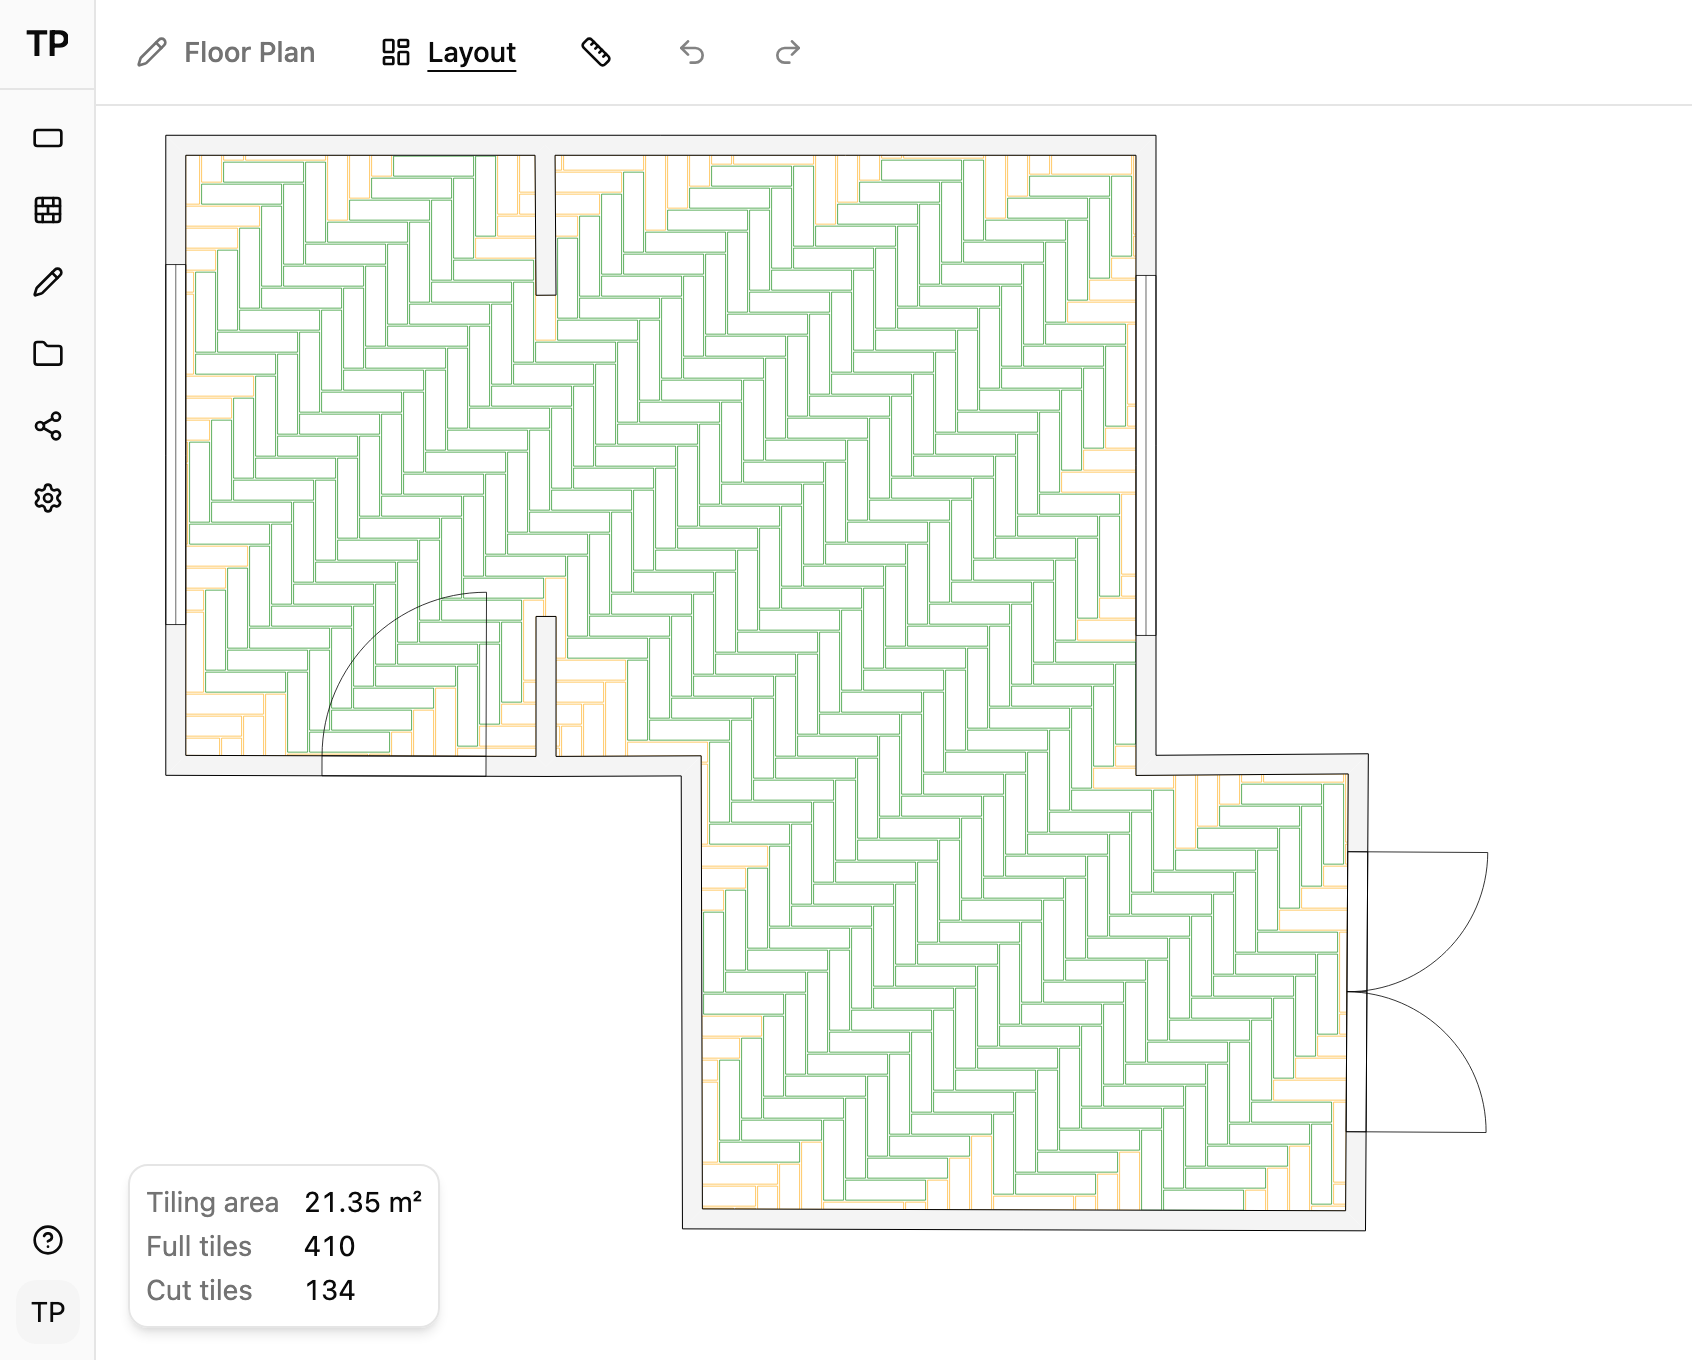
The toolbar switches between Floor Plan (draw the room) and Layout (preview tiles). The sidebar holds Tiles, Patterns, Configure, Projects, and Share. Pan and zoom on the canvas as you work.
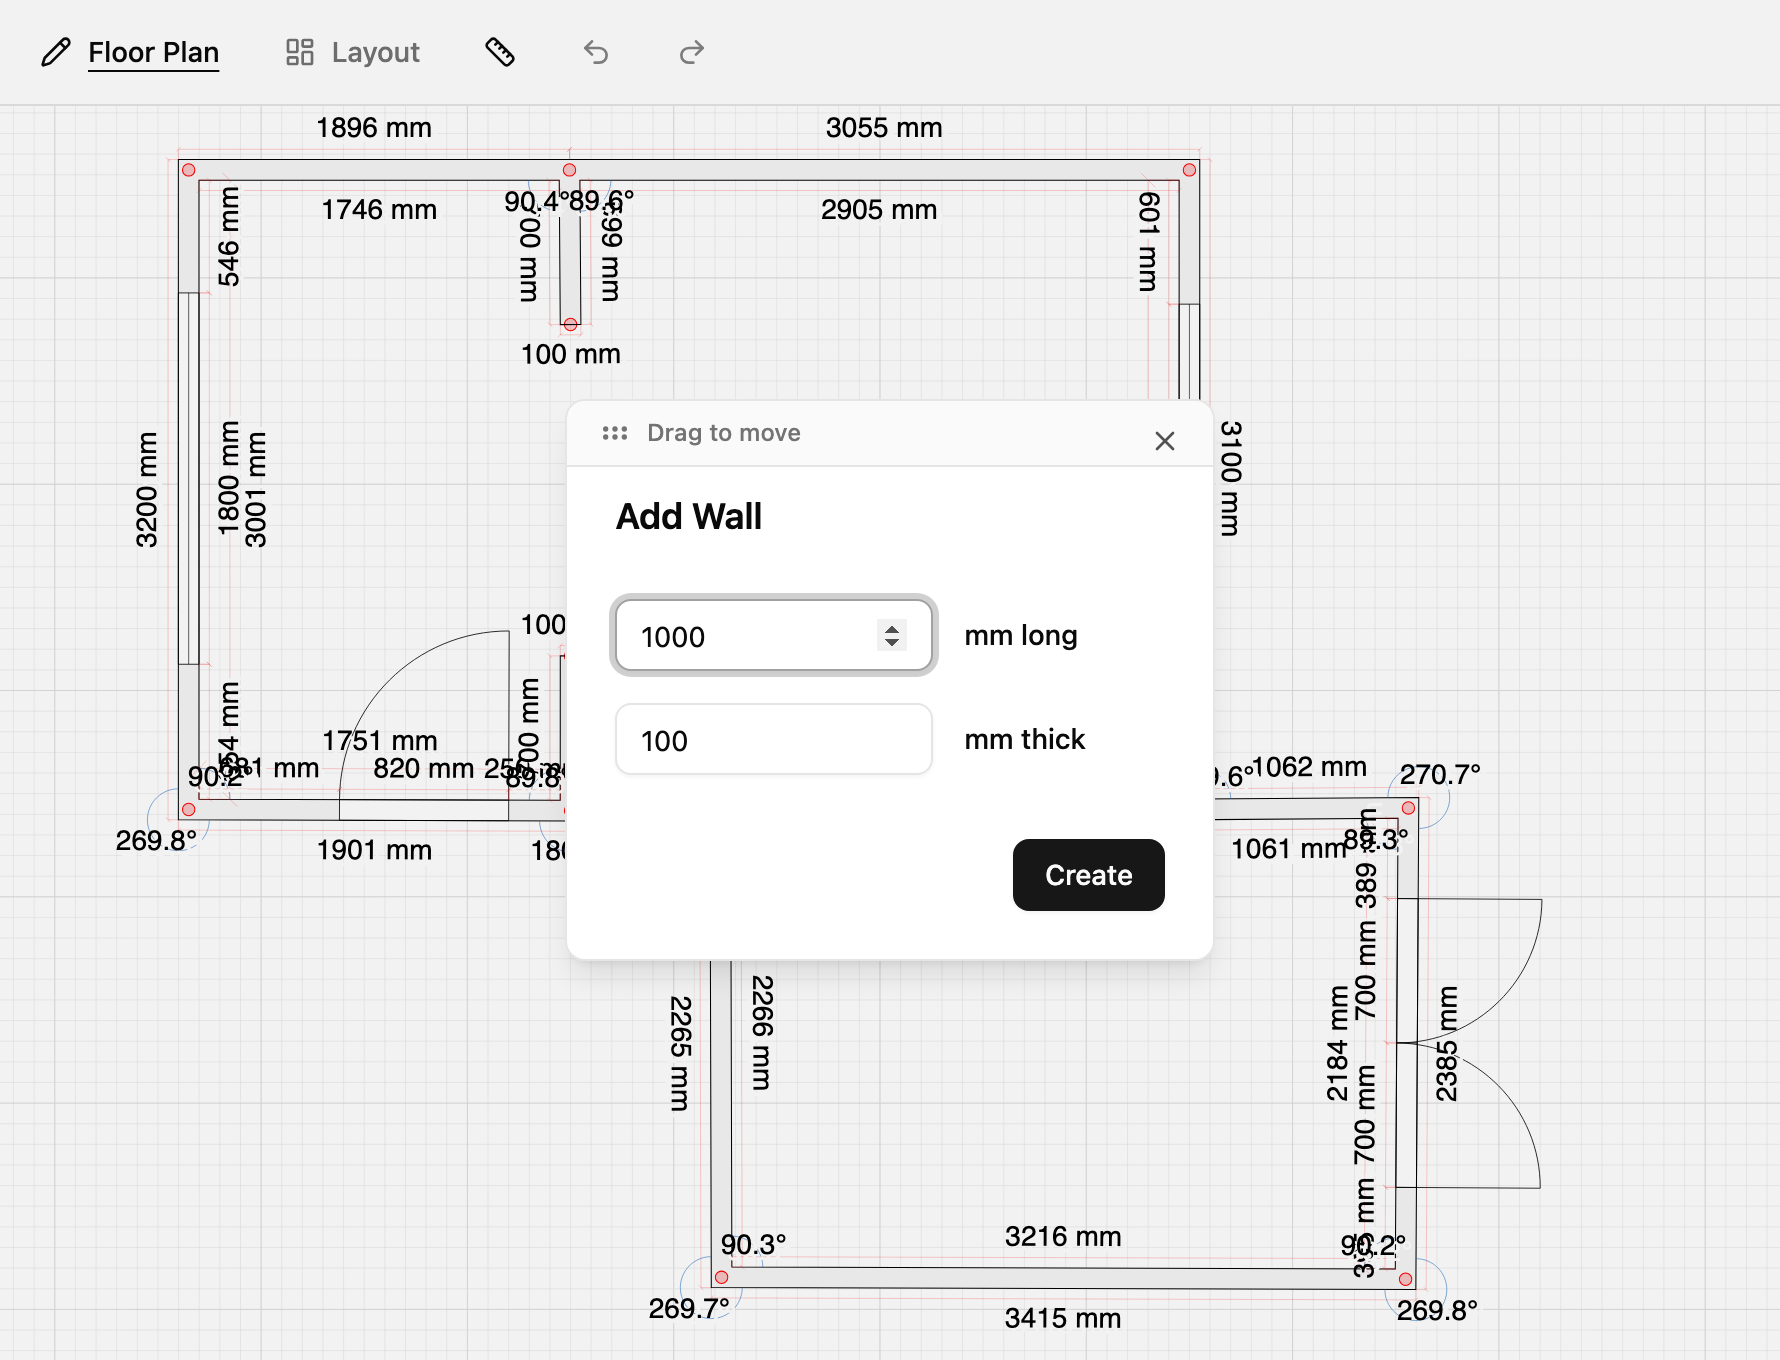
Draw your floor plan
In Floor Plan mode, click to add corners and walls. Enter lengths from your site measure as you go. Drag a corner or wall to adjust the shape, and drag empty space to pan. Use undo on the toolbar if you mis-click.
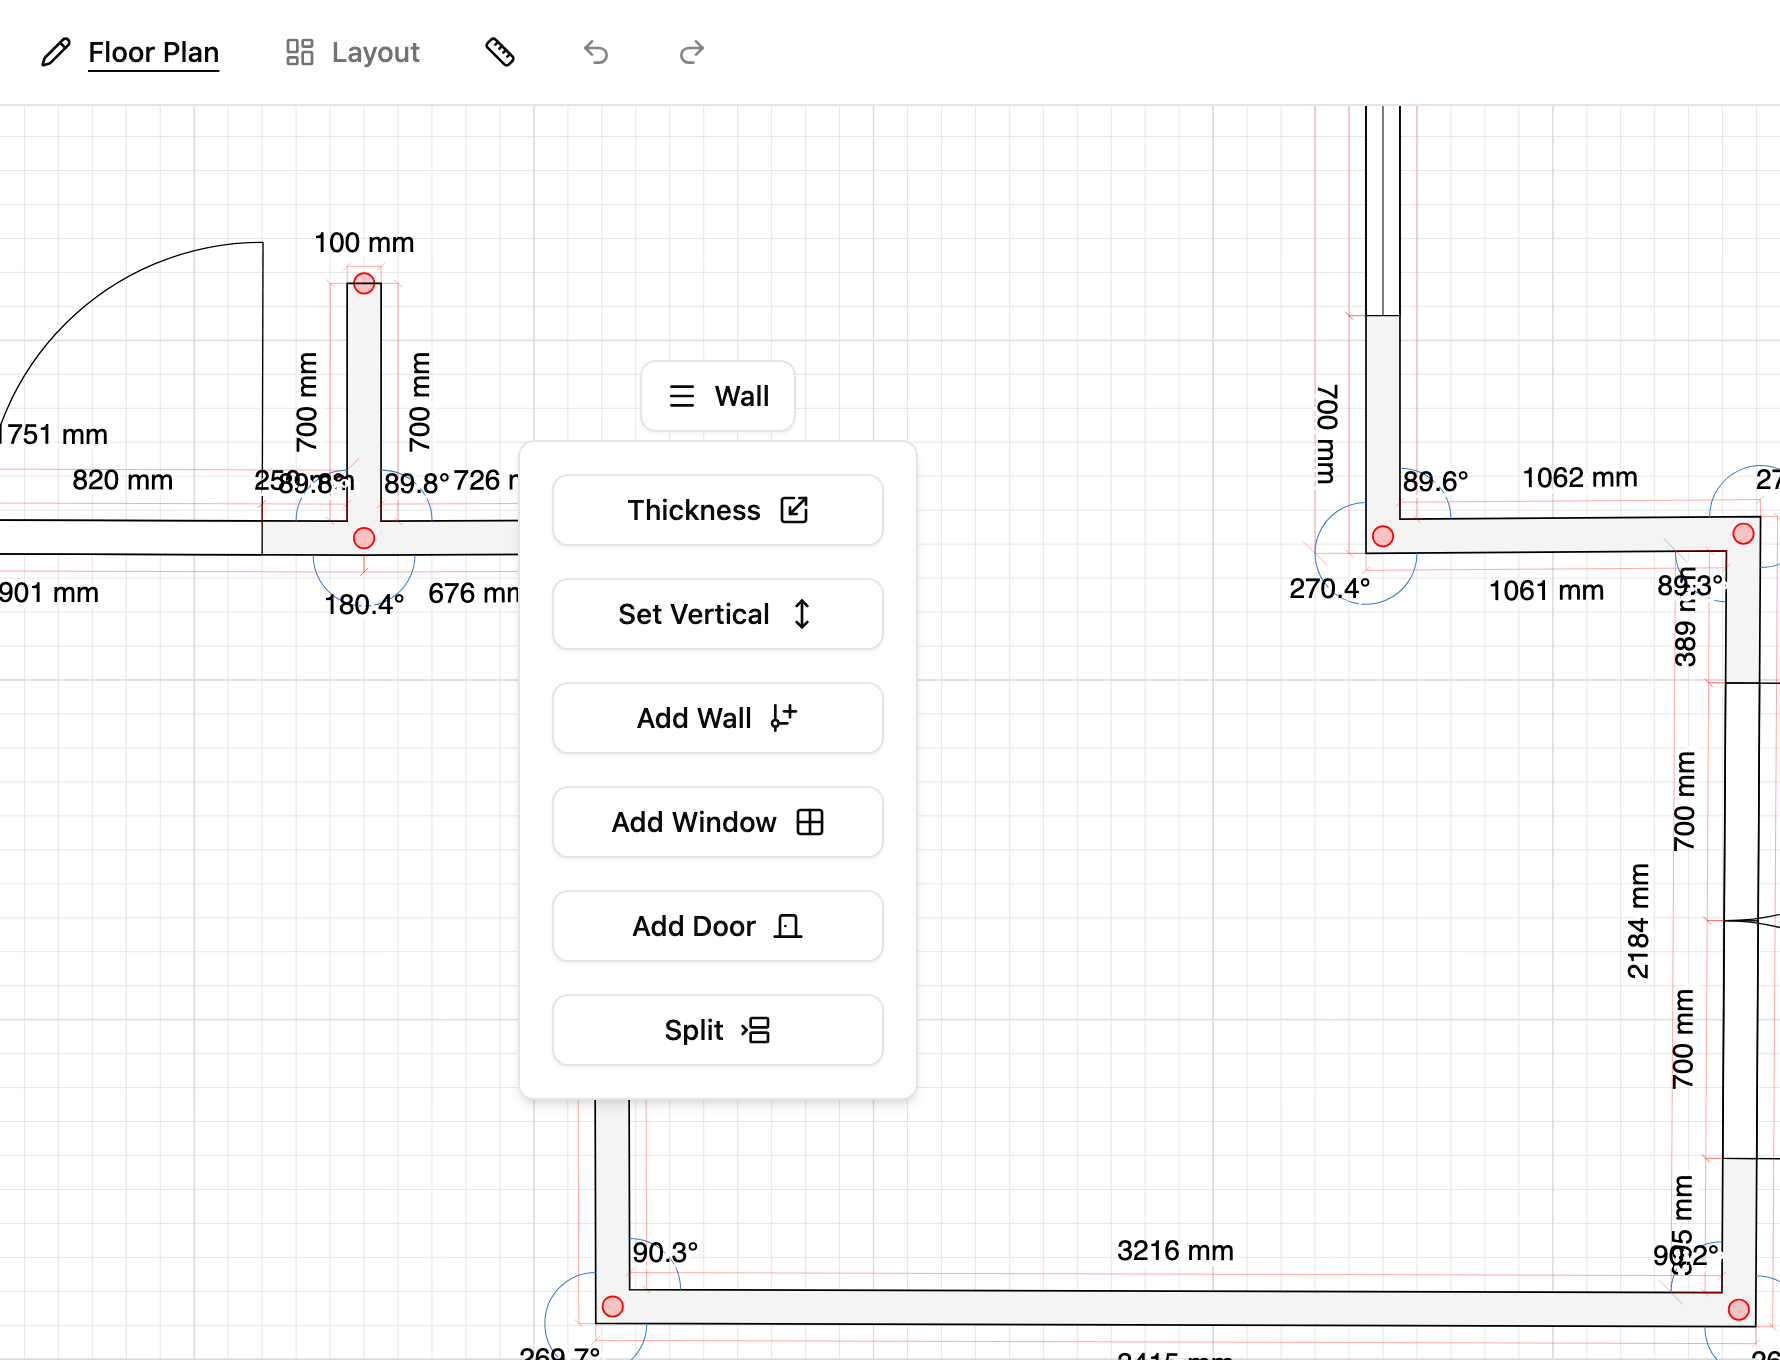
Menus & dimensions
Click a corner or wall (without dragging) for more options — add walls, doors, windows, or change thickness. Click a dimension label on the canvas to type an exact length.
Tiles, patterns & layout
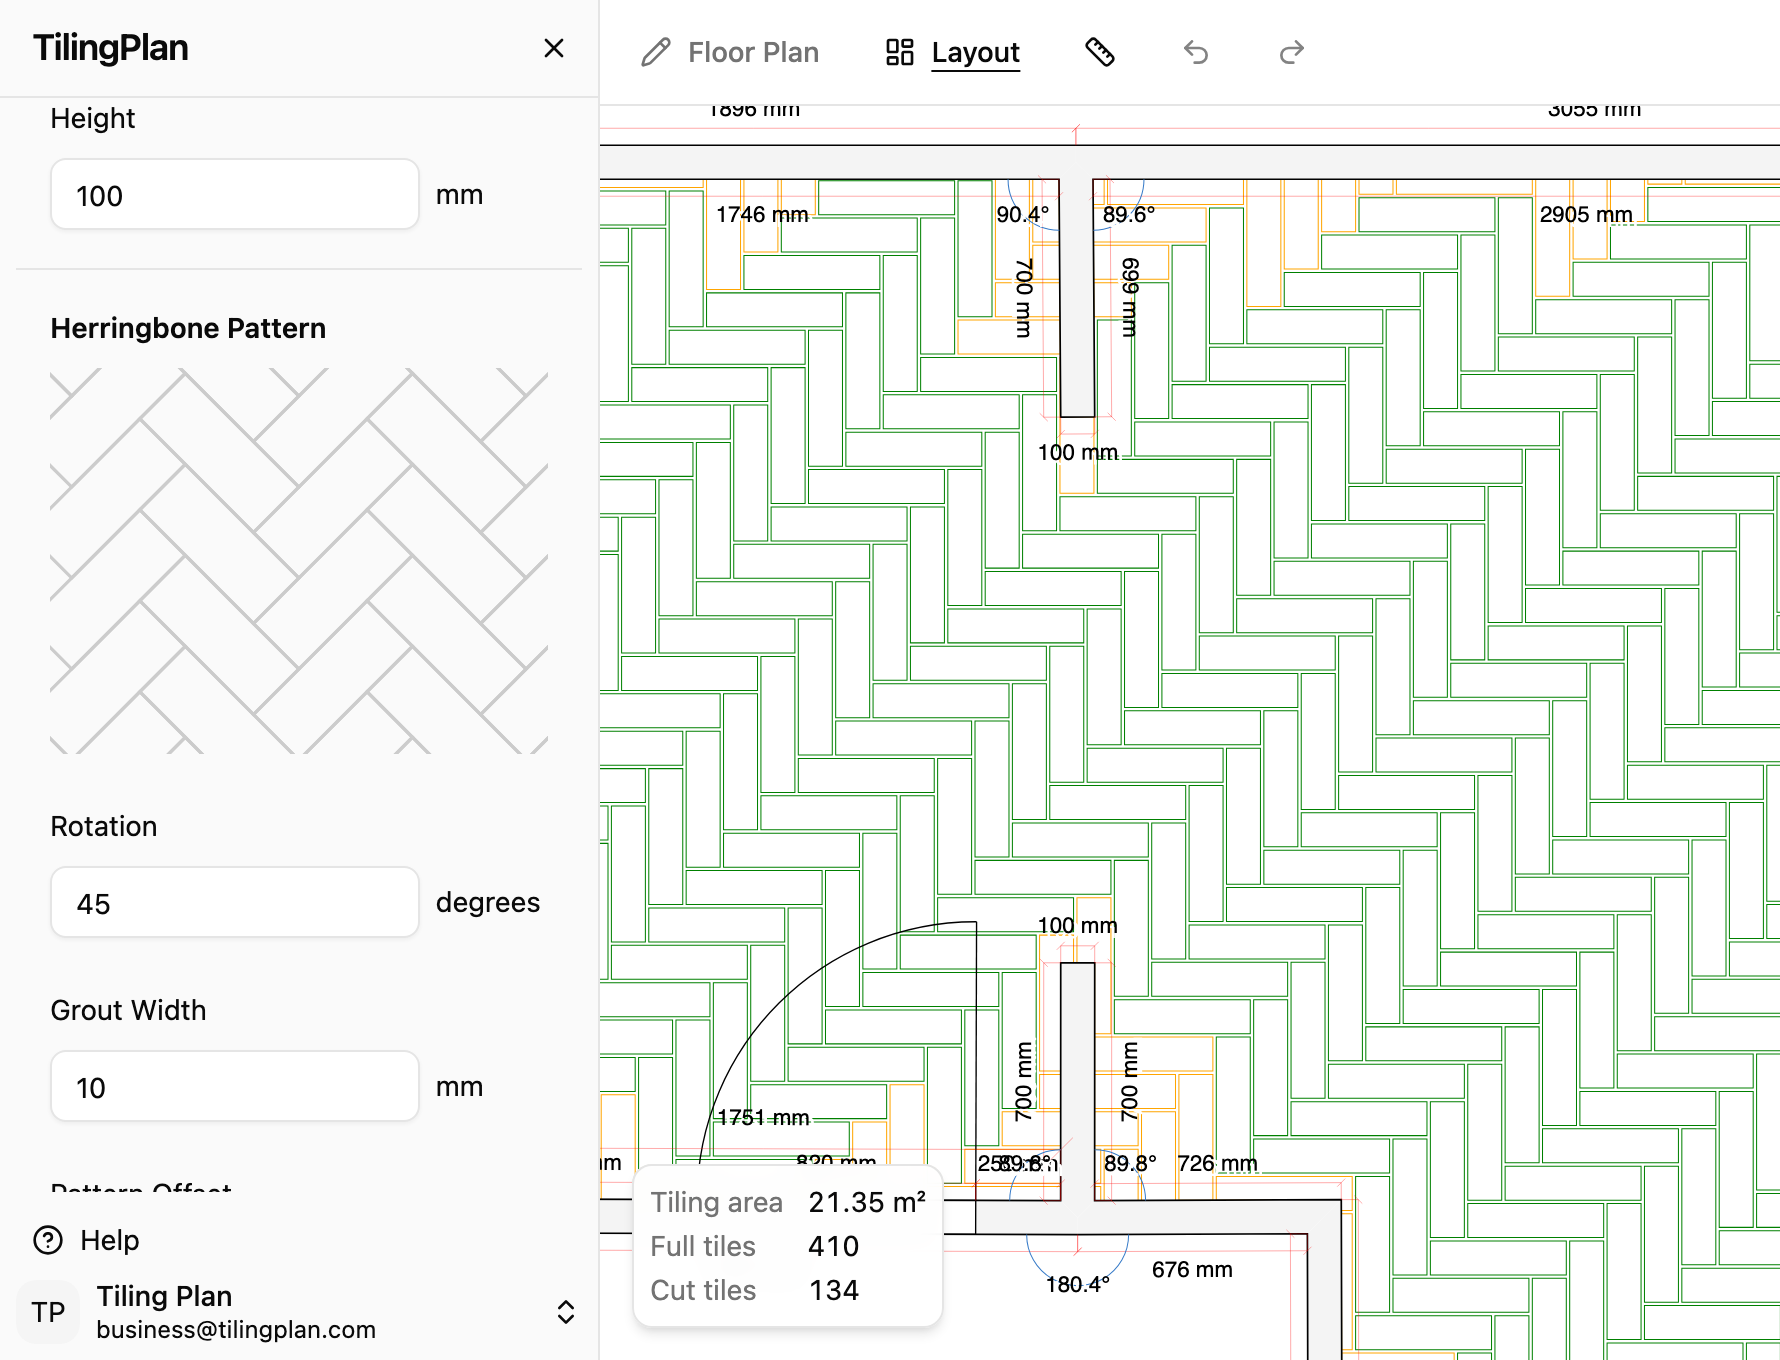
Switch to Layout. Open Tiles and Patterns in the sidebar to swap options, then use Configure to adjust tile and layout parameters. Drag the tile grid on the canvas to line up cuts before you quote.
Export your layout
Open Share, choose what to include, and download PNG or JPEG. Attach to WhatsApp or email when you send your quote.